How to Use Cork Sealant on Exposed Birkenstock Edges
Founder & Fashion Creative Director at Julia Fashionista · CFDA Fashion Scholar, Certified Image Consultant (AICI) · 12+ years in editorial wardrobe styling, sustainable textile sourcing, and luxury capsule curation
Applying cork sealant to Birkenstock exposed edges preserves the flexible footbed before irreversible crumbling starts. The perimeter of your sandals takes the brunt of street grit, curb impacts, and daily moisture shifts. Without protection, the natural binders dry out, turning the edges brittle and prone to flaking.
Footwear trade standards indicate that a quality cork-latex composite relies on balanced internal moisture to maintain its tensile strength. Once the factory finish wears away, standard ambient evaporation depletes that moisture rapidly. Knowing how and when to reseal the perimeter keeps your sandals comfortable and structurally sound for years.
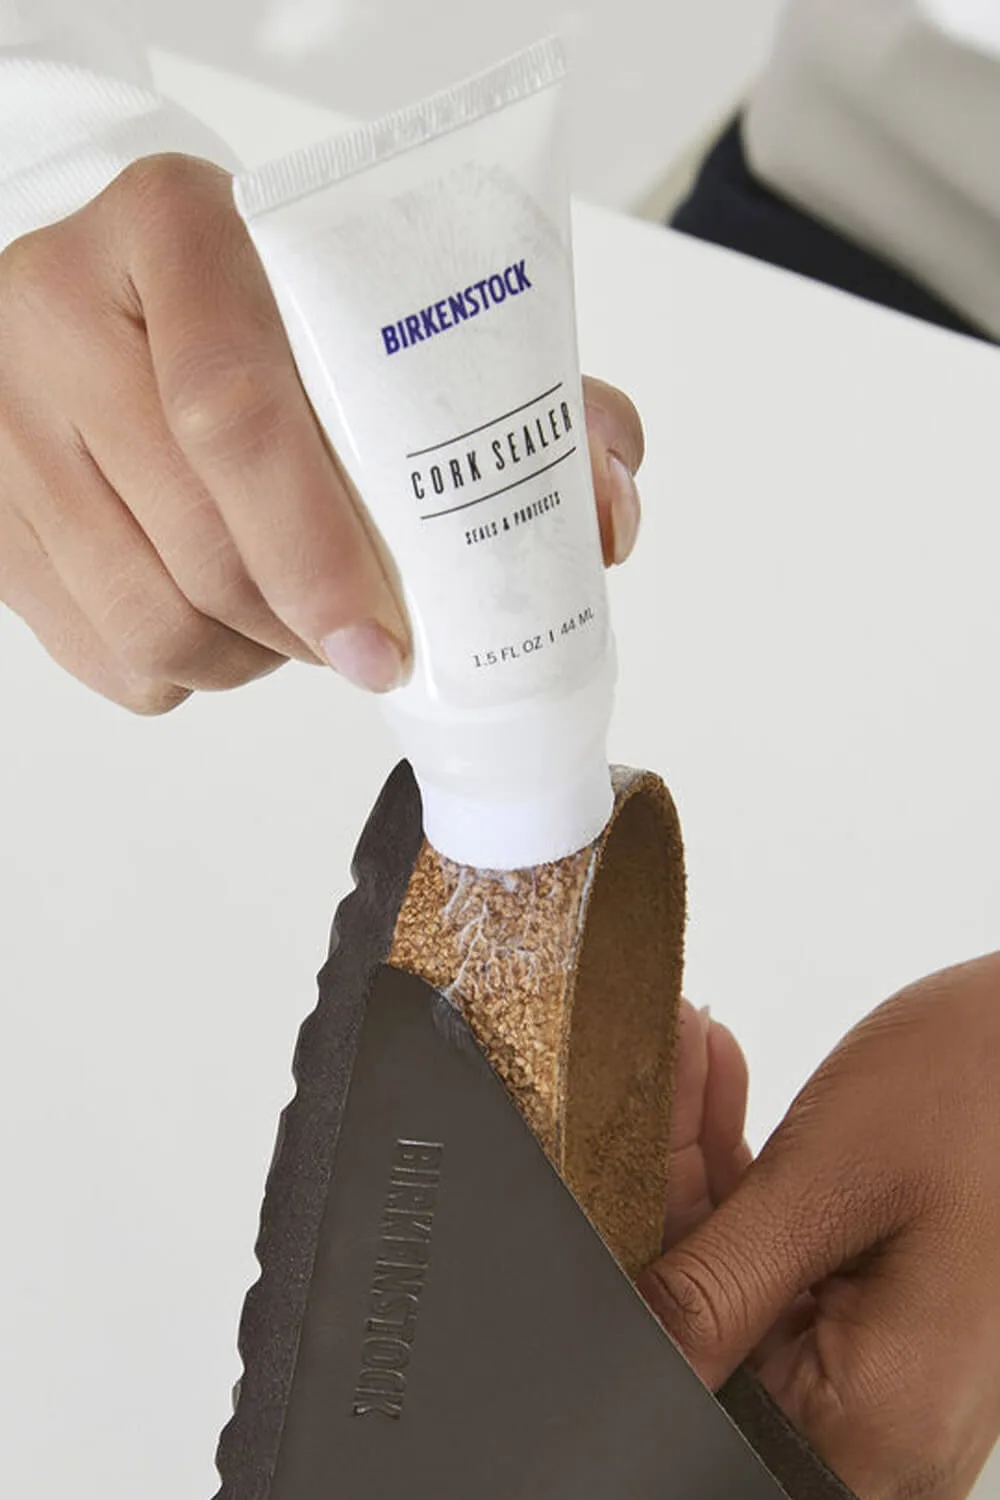
Image source: Bing (Web (fair-use with source credit))
Quick Answer
Apply cork sealant to Birkenstock exposed edges whenever the natural gloss fades. A dull, chalky surface means the cork is drying out. Brush a thin, even coat onto the exposed cork perimeter.
Avoid getting any sealant on the suede footbed lining. Let the compound cure completely for 20 minutes before wearing. Reseal every four to six months for optimal protection.
The Cork Life Cycle: Why Those Exposed Edges Dry Out and Crack
Birkenstock constructs its footbeds using natural cork granules bonded together with a liquid latex emulsion. This composite rests directly between the suede footbed lining and the ethylene-vinyl acetate (EVA) outsole. The outer perimeter remains completely open to the elements by design.
This openness promotes natural flex and airflow during daily wear.
However, continuous exposure creates vulnerability. Footwear material guidelines from organizations like the Footwear Distributors and Retailers of America point out that natural latex binders degrade when exposed to repeated wetting and drying cycles. Road dust acts as a desiccant, pulling vital moisture out of the outer cork layer.
As of 2026, aggregate user feedback confirms that neglected edges follow a predictable path to failure. The degradation begins at the outermost surface:
- Stage 1 (Loss of Sheen): The glossy factory barrier rubs off, leaving the cork looking dry, pale, and chalky.
- Stage 2 (Micro-fissuring): Tiny horizontal cracks form as you step and flex the shoe.
- Stage 3 (Erosion): Loose granules crumble away, especially around the high-impact heel cup and toe strike points.
- Stage 4 (Delamination): The structural core separates entirely from the EVA outsole, requiring professional cobbler recrafting.
Catching this wear during Stage 1 keeps the core intact. Sealing forms an external, flexible shield that locks internal humidity in place.
The Diagnostic Workflow: Does Your Cork Actually Need Resealing?
Brand new pairs straight from the box do not need sealant. Birkenstock applies a protective coating during manufacturing that lasts for months depending on usage. Slathering fresh sealant over an intact factory coat creates an uneven, gummy crust that gathers dirt.
Use this simple diagnostic process to determine whether your pair is ready for treatment:
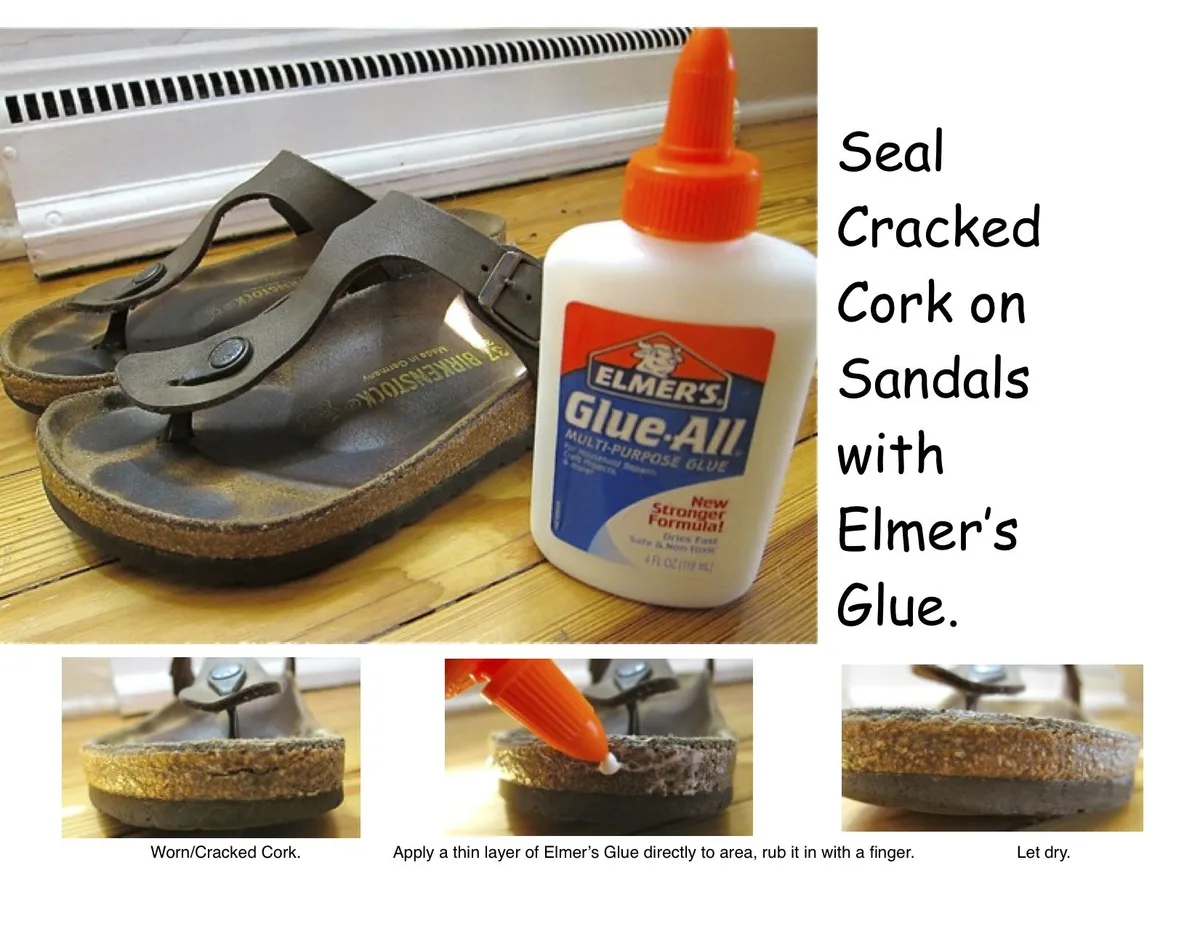
Image source: Bing (Web (fair-use with source credit))
- The Visual Check: Inspect the rim under bright, direct light. If you see a subtle, satiny shine reflecting back, the factory seal is still working. If the texture looks like a dry bulletin board or displays a dusty, white-tinted haze, the seal is gone.
- The Scratch Test: Run a clean thumbnail gently across the exposed rim. An adequately sealed footbed feels smooth, slick, and slightly rubbery. An unsealed footbed feels rough, dry, and distinctly textured.
- The Water Droplet Test: Place a single drop of water on the cork rim. If the droplet beads up and stays round, leave the cork alone. If the droplet flattens and darkens the cork within five seconds, apply sealant immediately.
| Cork Appearance | Surface Texture | Droplet Test Result | Required Action |
|---|---|---|---|
| Glossy or satiny | Smooth, rubbery resistance | Beads tightly on surface | None (Inspect again in 60 days) |
| Dull, matte, pale | Rough, sandpaper-like feel | Absorbs within 5 seconds | Apply 1 thin coat of sealant |
| Chipping with visible gaps | Flaking, crumbly under light touch | Soaks immediately into voids | Fill gaps first, then seal fully |
The DIY Toolkit: Choosing Between Birkenstock Sealer, Kelly's Cork Renew, and Barge
Restoring the edge requires a dedicated water-based flexible acrylic emulsion. Never use general craft glue, wood sealer, or standard PVA glues like Mod Podge. Craft glues dry hard and brittle, snapping into tiny flakes the moment the sandal flexes under foot pressure.
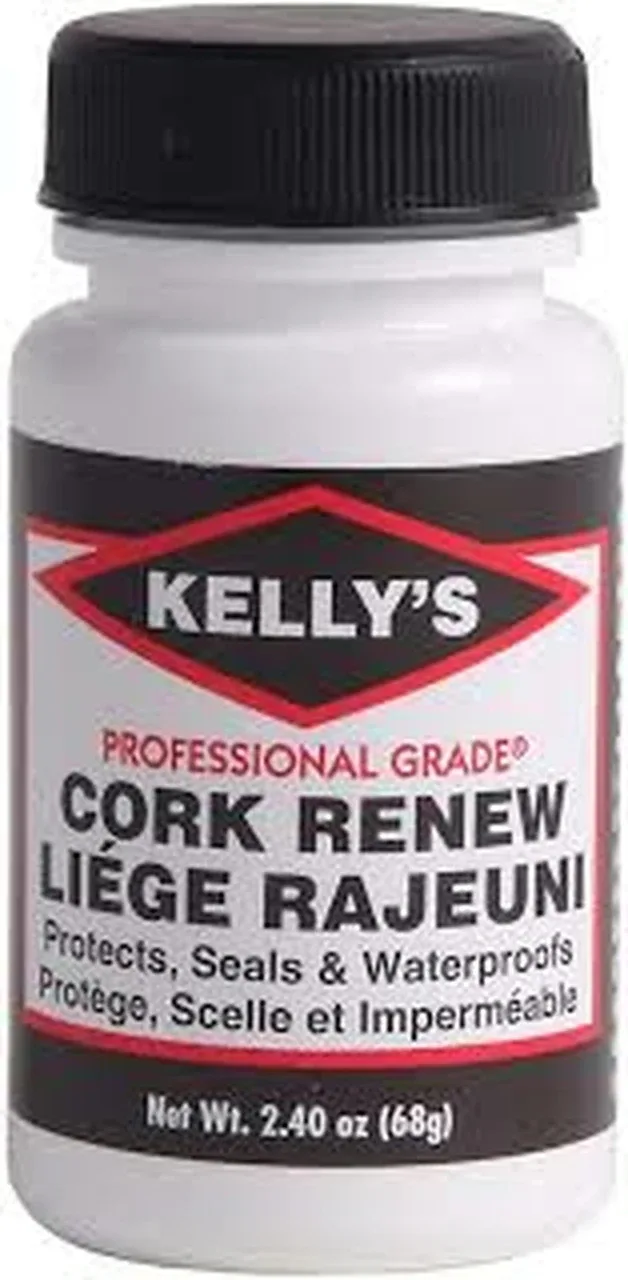
Image source: Bing (Web (fair-use with source credit))
Three primary formulations dominate cobbler shops and home maintenance benches:
Birkenstock Cork Sealer
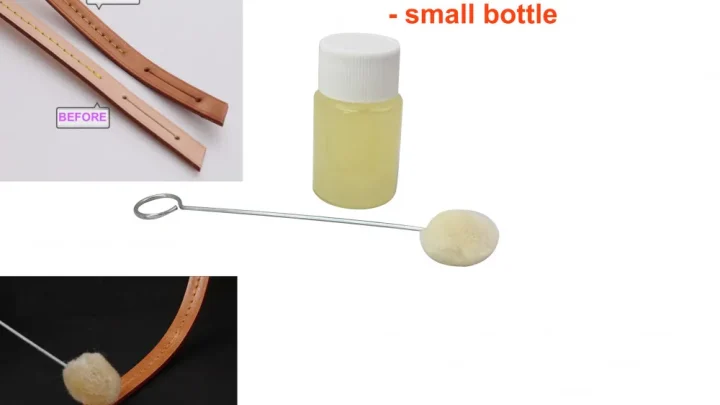
This is the official factory formulation. It ships in an easy-squeeze bottle featuring a built-in sponge-top applicator. It flows smoothly, dries to a medium satin sheen, and maintains the authentic factory look.
It works best for beginners who want simple, mess-free seasonal maintenance.
Kelly's Cork Renew
Widely used across independent repair shops, this formula features a built-in nail-polish-style brush inside the cap. It goes on white and milky, making it simple to track where you have painted, then cures completely clear. It leaves a slightly glossier finish than the official Birkenstock bottle.
The brush tip offers precise edge control around strap cutouts.
Barge Infinity Cork Rapid Seal
cobblers often choose this heavy-duty variant for heavily weathered pairs. It offers slightly higher viscosity and fills in microscopic surface roughness better than thinner liquids. It requires a steady hand, as excess product can drip easily down the sides of the EVA outsole.
Step-by-Step Workflow: How to Clean, Prep, and Seal Exposed Cork Edges
Applying sealant takes less than ten minutes of active effort. Taking time to properly clean the edge is essential. Applying sealant over loose road grime traps dirt directly against the cork matrix, degrading the bond.
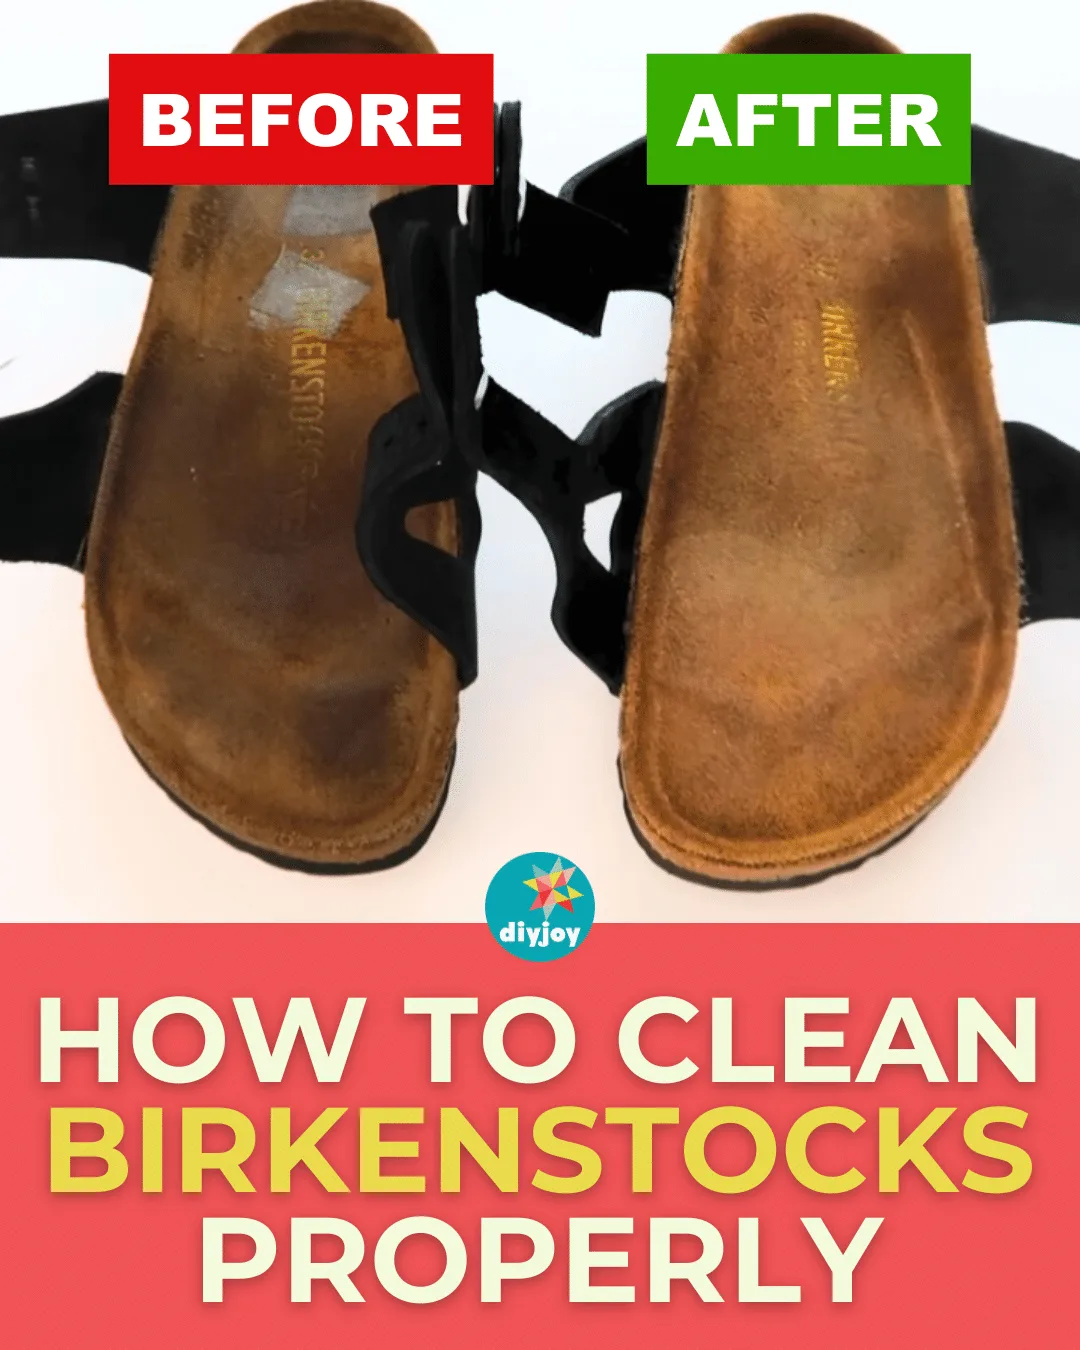
Image source: Bing (Web (fair-use with source credit))
Step 1: Dry-Brush the Rim
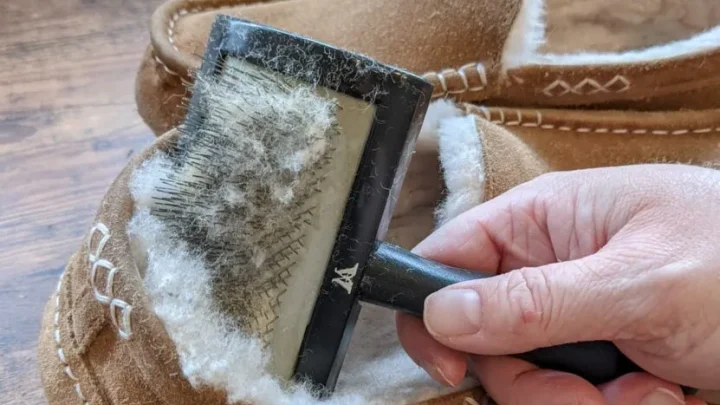
Take an old, dry toothbrush or a stiff horsehair shoe brush. Vigorously buff the entire exposed cork perimeter to dislodge dirt, trapped dust, and loose cork granules. Wipe the rim clean with a dry microfiber cloth.
Do not soak the footbed with water.
Step 2: Mask the Sensitive Zones
Sealant leaves permanent dark spots if it touches suede. If you are using a liquid bottle with a brush, take low-tack blue painter tape and mask the leather or suede straps where they enter the footbed. Take care to keep tape off the cork itself.
Step 3: Apply the First Thin Pass
Shake your bottle thoroughly. Apply the sealant sparingly along the rim using smooth, unidirectional strokes. Work in small sections, moving from the heel forward toward the toe.
Keep the liquid centered on the cork strip. Never allow it to pool or roll over onto the upper suede lining. If the bottle features a sponge top, dab lightly rather than squeezing hard to prevent accidental pooling.
Step 4: Feather and Blot Excess Product
Inspect the edges immediately after covering each section. If you spot thick white beads or drips running toward the EVA sole, immediately blot them using a clean cotton swab or paper towel. The coat should appear thin, wet, and milky, without milky puddles sitting inside small divots.
Step 5: Cure and Dry
Set the sandals on a flat surface away from direct sunlight, open heaters, or excessive humidity. Allow the product to dry.
- Tack-Free Time: 15 to 20 minutes (the white haze turns entirely clear).
- Full Polymerization: 12 to 24 hours before normal, high-flex outdoor wear.
If the cork was heavily weathered, check the finish after 30 minutes. If dull patches remain, apply a second ultra-thin layer over those specific spots.
Dealing with Chipped Edges and Voids: When Simple Sealant Isn't Enough
Liquid cork sealants are designed purely as surface protectants, not structural fillers. If your sandals have struck curbs or suffered heel-strike wear, you may find deep gouges or missing chunks along the rim. Applying liquid sealant directly into an open crater will only glaze the bottom of the hole without restoring the shape.
If the void is deeper than two millimeters, you need to rebuild the edge before applying your final seal:
- Source Cork Material: Buy a sheet of thin automotive cork gasket paper or grab an all-natural wine cork. Never use synthetic plastic corks.
- Create Cork Dust: Rub the natural cork against a fine kitchen microplane or coarse sandpaper to produce a small pile of fine cork dust.
- Mix the Paste: Place a nickel-sized dab of flexible contact adhesive, such as Barge Cement, on a scrap piece of cardboard. Blend in your cork dust using a toothpick until you create a thick, moldable paste.
- Pack the Void: Press the paste firmly into the chipped rim until it sits slightly higher than the surrounding edge. Allow the adhesive to cure for a full 24 hours.
- Level the Repair: Sand the dried paste smooth and flush with the original footbed contour using 120-grit sandpaper wrapped around a small wooden block.
- Apply Sealant: Brush your regular cork sealant across the repaired patch, blending it out one inch past the perimeter on both sides.
Critical Mistakes That Can Ruin Your Footbed or Stain Your Straps
Applying cork sealant is straightforward, but small missteps can permanently damage your sandals. Suede, nubuck, and natural cork are unforgiving materials that absorb liquids instantly. Avoiding these common errors will protect both the look and comfort of your footwear.
- Sealing Over Grime: Never paint sealant over dirty edges. Road grime and body oils create a barrier that prevents the acrylic emulsion from bonding. The sealant will peel off like sunburned skin, taking healthy cork with it.
- Over-Saturating the Rim: Thick coats take hours to dry and turn into a milky, rubbery rind. Heavy layers reduce flexibility and crack during your first walk outside. Stick to thin, controlled applications that sink into the cork matrix.
- Getting Sealant on the Suede Liner: Keep a damp cloth ready during application. If wet acrylic touches your suede upper or insole, dab it immediately with warm water. Once it cures, the sealant dries to an indelible, hard spot that cannot be brushed out.
- Using Craft Glue as a Shortcut: Never substitute white school glue or wood glue for specialized footwear sealant. Standard craft adhesives turn brittle when dry. They shatter under foot pressure and dissolve when exposed to puddle water or summer rain.
- Storing Bottles in Freezing Conditions: Keep your sealant bottles indoors at room temperature. Freezing breaks the water-based polymer emulsion, leaving the liquid permanently separated, clumpy, and useless.
Frequently Asked Questions About Birkenstock Cork Maintenance
How often should I apply cork sealant?
Apply sealant every four to six months if you wear your sandals daily. Those in dry, hot climates or urban areas may need a fresh coat every three months. Check the rim periodically.
Whenever the surface loses its subtle sheen and feels dry to the touch, it is time for maintenance.
Can I use Mod Podge instead of cork sealant?
No, Mod Podge is not a safe alternative for footwear cork. It dries rigid and lacks the necessary elasticity to bend with your footstep. It is also water-soluble when dried, meaning a brief rain shower or wet grass will turn the coating sticky and wash it away completely.
Does cork sealer change the color of the footbed?
Sealant deepens the color of faded cork back to its rich, original tone. It goes on milky white, allowing you to see coverage, but it cures entirely clear. It leaves a light, clean satin sheen rather than a wet, glossy look once the water evaporates from the emulsion.
How do I remove excess sealant from suede?
Blot the spot with a damp microfiber cloth immediately while the formula is still wet. Do not scrub hard, which pushes the acrylic deeper into the nap. If the sealant has already dried, gently buff the mark with a dedicated suede eraser or fine nylon suede brush to loosen the dried polymer.

Similar Posts