Stiletto Metal Showing? Heel Tip Replacement Cost
Founder & Fashion Creative Director at Julia Fashionista · CFDA Fashion Scholar, Certified Image Consultant (AICI) · 12+ years in editorial wardrobe styling, sustainable textile sourcing, and luxury capsule curation
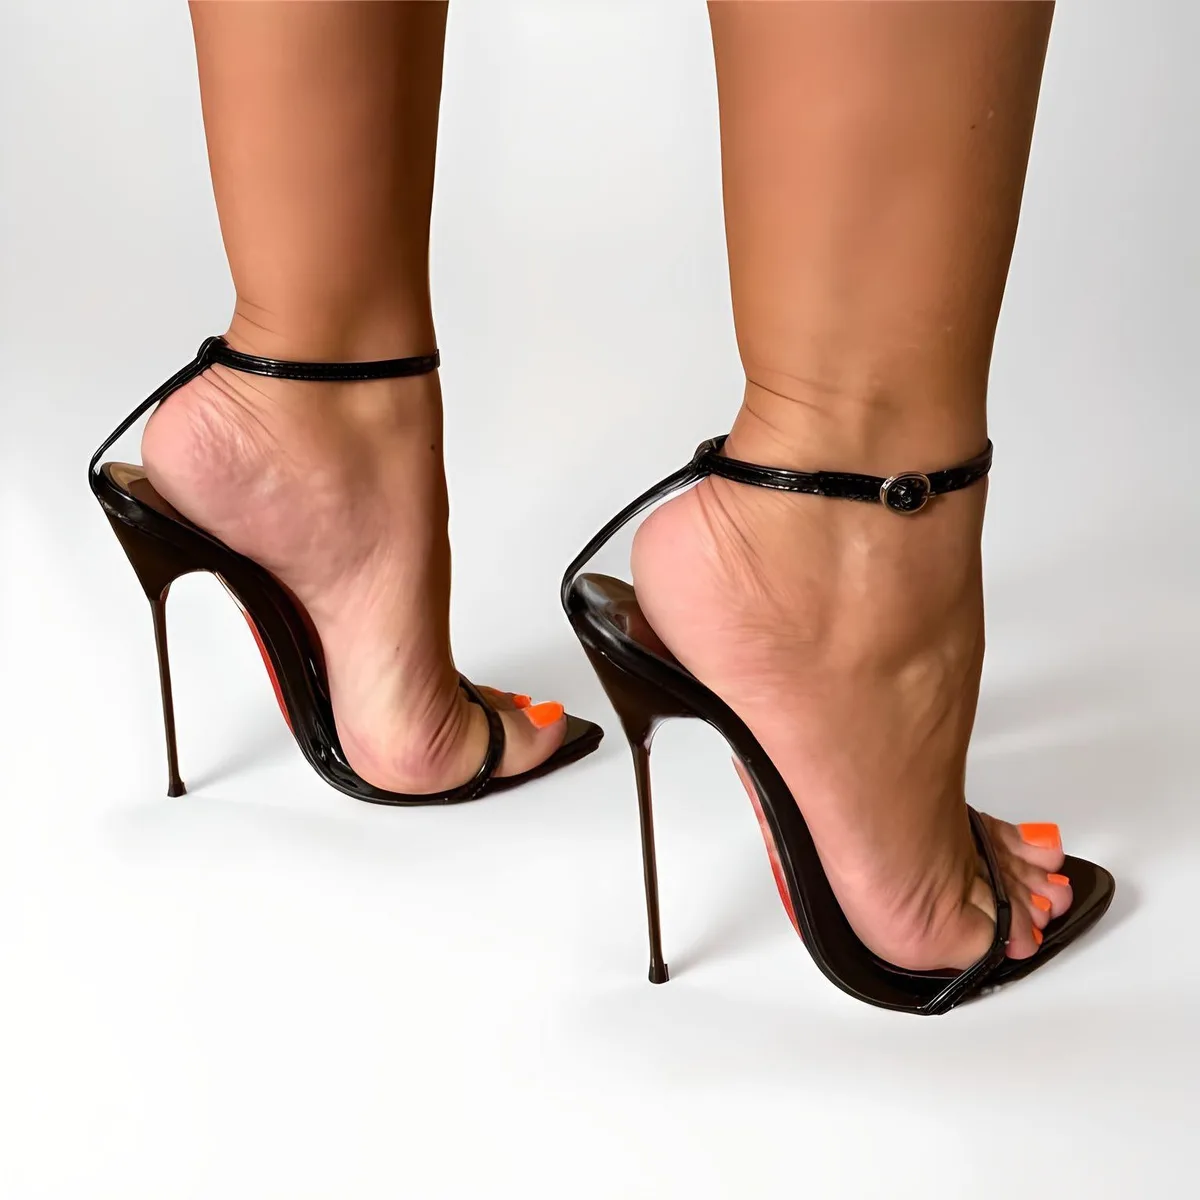
Image source: Bing (Web (fair-use with source credit))
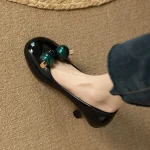
That sudden, sharp metallic click on the pavement means you have worn through your footwear. Getting a clear sense of heel tip replacement cost stiletto metal showing on your shoes helps you decide between a quick fix and a trip to the cobbler.
According to guidelines from the Shoe Service Institute of America, a basic top lift replacement is one of the most common footwear repairs. Replacing the tip early prevents costly damage to the heel block itself.
Quick Answer
A standard professional heel tip replacement costs between $12 and $25 per pair. The price rises to $35 or $50 if the exposed metal pin is mushroomed. A DIY repair kit costs $8 to $15 online.
You should stop walking on the shoes immediately. Walking on bare metal destroys the internal heel block quickly.
Why You Hear That Clicking Sound: Understanding What Just Happened to Your Heel
That loud, sharp strike against the floor is the sound of an exposed metal post hitting concrete. When your shoes are new, a small piece of durable polyurethane shields the bottom of the heel. Once that layer wears through, the internal support rod takes the entire impact of your step.
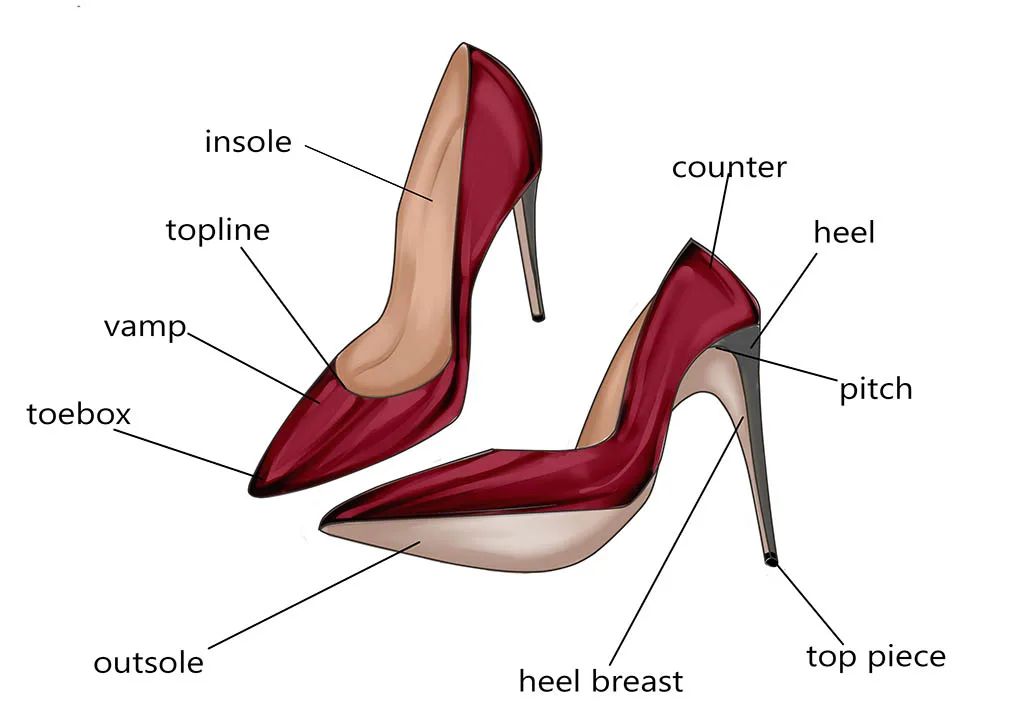
Image source: Bing (Web (fair-use with source credit))
Anatomy of a Stiletto: The Top Lift vs. The Metal Pin
Every stiletto heel relies on two main balance components at the base:
- The top lift: This is the protective rubber or polyurethane cap that touches the floor.
- The metal pin: A hardened steel dowel that anchors the top lift into the plastic heel shaft.
The top lift absorbs ground friction and deadens sound. The metal pin sits inside an internal reinforcement pipe within the heel block. When the protective cap falls off or grinds down, that steel dowel makes direct contact with the ground.
What Happens the Longer You Walk on the Bare Metal
Walking on an exposed pin causes immediate structural friction. The metal pin is softer than hard pavement, so each step spreads the exposed tip outward. Cobblers call this "mushrooming."
Once the steel tip flattens and widens, it cannot slide out of the heel shaft smoothly. Continuing to walk on it drives the steel pin upward like a wedge. That upward force will crack the internal plastic stem of the heel.
The Diagnostic Triage: Assessing Your Heel's Current Damage Level
Before deciding how to fix your shoe, you need to check the damage. The repair cost depends entirely on how many steps you took after the rubber layer vanished.
Stage 1: Fresh Exposure (Metal Just Peeking Through)
You notice a light metallic tap, but the rubber around the edge is still mostly visible. The steel pin is flat, round, and retains its factory diameter.
The surrounding leather or satin wrap shows zero signs of fraying. This is the simplest fix. You can easily pull the pin and replace the lift yourself or pay a cobbler for a base-level repair.
Stage 2: The Mushroomed Pin (Flattened Steel and Spread Metal)
You walked on the bare pin for several blocks or through an entire evening event. The bottom of the metal dowel has flattened out like the head of a nail.
The widened steel now overlaps the edges of the heel block hole. At this stage, standard pliers cannot pull the pin straight out without tearing the surrounding heel material. A cobbler must grind down the flared edges before extracting the stem.
Stage 3: Leather Wrap Abrasion and Structural Core Damage
The metal pin has driven deep into the heel or sheared off completely. The bottom quarter-inch of the leather, suede, or patent wrap is chewed up from direct pavement contact.
If the internal plastic block has split, the heel will wobble laterally under your weight. A simple tap replacement will no longer work. The shoe requires structural reinforcement or an entirely new heel block.
Real-World Heel Tip Replacement Costs: From Quick Fix to Full Rebuild
Repair prices vary depending on regional labor rates and the severity of the damage. As of 2026, standard repairs remain relatively affordable if caught early, but secondary damage increases the final shop bill quickly.
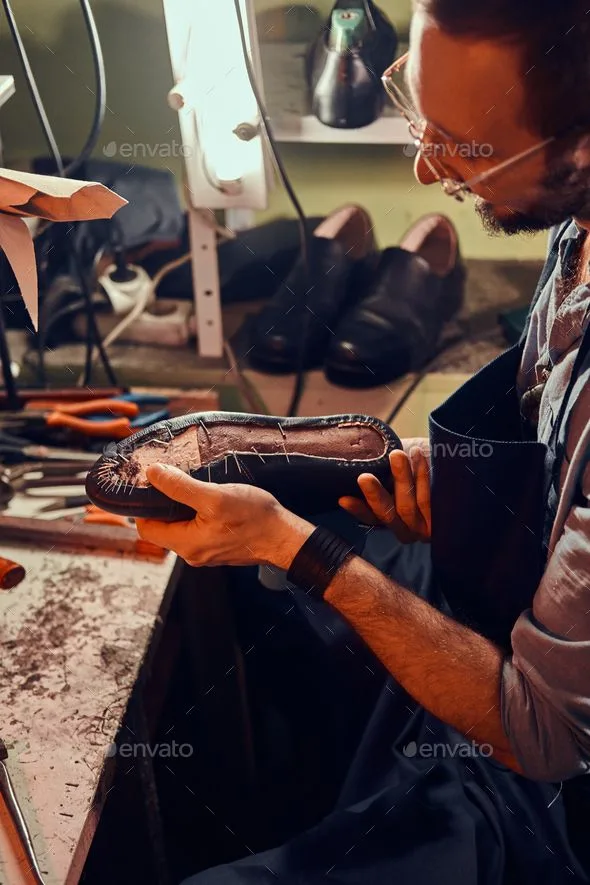
Image source: Bing (Web (fair-use with source credit))
| Repair Level | Typical Cost (Per Pair) | What Is Included |
|---|---|---|
| Basic Top Lift Swap | $12 – $25 | Removal of undamaged pin, installation of new polyurethane caps |
| Mushroomed Pin Extraction | $25 – $45 | Grinding flattened steel, mechanical extraction, hole reaming |
| Heel Re-Wrapping | $45 – $80 | Replacing torn leather or suede on both heel stems |
| Complete Heel Replacement | $60 – $120+ | Removing entire broken heel blocks and mounting new structural heels |
| DIY Home Repair Kit | $8 – $15 | Multi-pack of replacement tips and a basic extraction plier |
Average Price Breakdown by Repair Type and Region
Cobblers in major metropolitan centers like New York, London, or San Francisco charge toward the higher end of the scale. A standard tip replacement that costs $15 in a smaller suburban shop often runs $25 to $30 in an urban transit hub.
If you bring in shoes with mushroomed pins, shops usually add a $10 to $20 labor surcharge. That extra fee covers the time it takes to cut and drill out the jammed steel.
Why Designer Stilettos Often Cost More to Repair
Luxury heels from fashion houses like Christian Louboutin, Manolo Blahnik, or Jimmy Choo feature ultra-slim profiles. Their heel stems measure as narrow as 2.4 millimeters at the base.
Working on such narrow posts requires precise bench equipment to avoid splitting the lacquered wood or ABS plastic core. High-end shoe repair shops also match original factory color tones, adding to the total labor time.
The Decision Tree: Professional Cobbler or DIY Fix?
Fixing a stiletto yourself can save money, but one mistake can ruin the balance of the shoe. Use this logic tree to determine your next move:
- IF the pin is round, straight, and has visible space beneath it, THEN a DIY replacement is straightforward.
- IF the pin is flattened, bent, or mushroomed wider than the heel stem, THEN take the shoes to a cobbler.
- IF the leather wrap near the base is shredded, THEN see a cobbler to stop the tear from running up the heel.
- IF the shoes cost more than $300, THEN use a professional to protect the structural balance and resale value.
When You Can Safely DIY (And What Tools You Actually Need)
You can tackle the job at home if the heel core is completely intact. You will need a pair of mechanic's end-cutting nippers or locking pliers.
You also need replacement polyurethane tips with the exact pin gauge required for your shoe. A clean, stable workbench and a small, smooth-faced hammer are essential.
When You Must See a Cobbler Immediately
Never attempt a DIY repair if the pin has snapped off flush with the bottom of the heel block. Digging into the hole with household tools will chew up the internal plastic pipe.
Once that tube loses its grip, new tips will fall out within minutes of walking. Cobblers use dedicated dowel-pulling extractors and bench vices designed specifically for narrow shoe profiles.
Step-by-Step DIY Top Lift Replacement (For Stage 1 Damage Only)
If your heel damage is clean and caught early, replacing the tips takes about fifteen minutes at home. Work slowly to protect the heel wrap from accidental scratches.
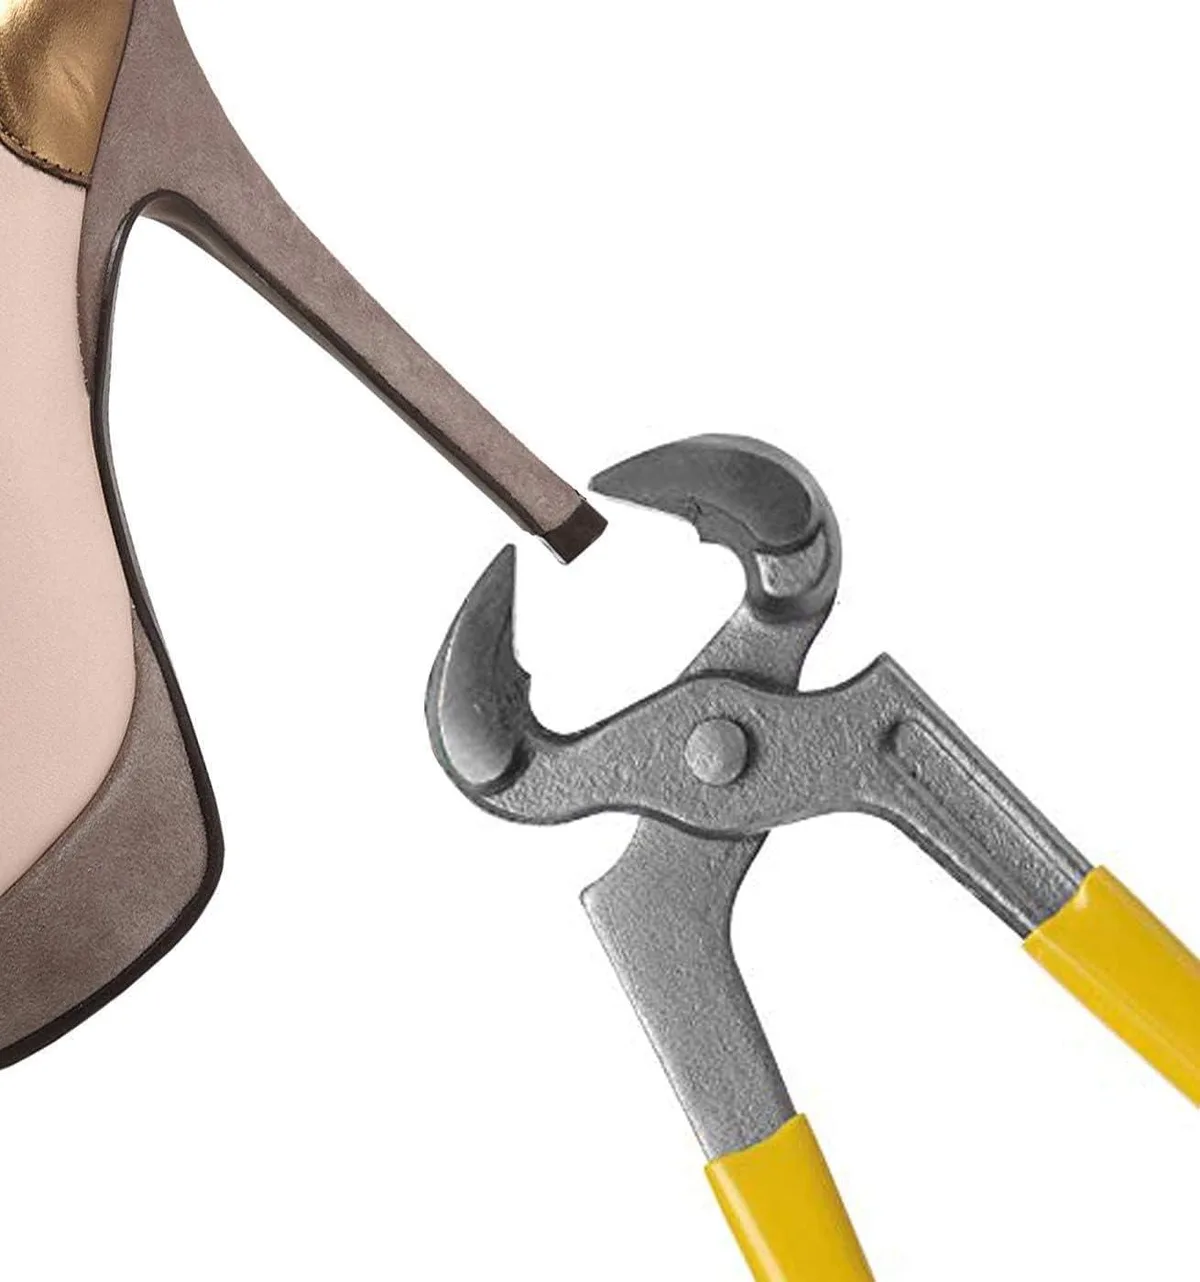
Image source: Bing (Web (fair-use with source credit))
Measuring the Stem Gauge and Matching the Profile
Replacement top lifts come in distinct pin diameters. Common factory sizes include:
- 2.4 mm (common on ultra-skinny Italian designer heels)
- 2.9 mm to 3.0 mm (standard high-street fashion heels)
- 3.1 mm (thicker commercial stiletto styles)
Check the shape of your heel base before ordering parts. Common profiles include round, teardrop, U-shape, and classic square. Installing a round tip on a U-shaped heel leaves exposed edges that catch on carpet and trip you up.
Pulling the Old Pin Without Cracking the Heel Block
Clamp your locking pliers or end-cutting nippers firmly around the exposed metal stem. Do not grab the leather wrapping of the shoe.
Gently twist the pliers back and forth while pulling straight outward along the axis of the heel. Never bend the pin sideways against the edge of the heel. Sideways pressure will snap the plastic block or tear the outer leather.
Driving and Seating the New Polyurethane Tip
Line up the new metal pin with the hole in the bottom of the heel. Push the pin in by hand as far as it will go to check the alignment.
Set the shoe upside down on a firm, flat surface covered with a soft towel. Using a brass or small dead-blow hammer, tap the new top lift straight down until the polyurethane cap sits flush against the heel block. Stop tapping the moment the seam closes to avoid cracking the heel pipe.
Common Mistakes That Turn a $15 Repair into a $100 Disaster
The easiest way to ruin a pair of heels is forcing a quick repair when the foundation is damaged. A simple replacement job can spiral into expensive reconstruction if you rush the process.
Using the Wrong Pin Gauge and Splitting the Internal Pipe
Forcing a 3.0 mm replacement pin into a 2.4 mm internal heel pipe creates severe hoop stress. The hardened steel acts like a wedge inside the plastic heel core.
That radial force will instantly fracture the ABS plastic block from the inside out. Once that internal tube cracks, no pin will ever hold tight again. The entire heel assembly must then be removed, replaced, and recovered.
Pushing Down a Mushroomed Pin
Hitting a flattened steel pin with a hammer in an attempt to make it sit flush is catastrophic. The widened, flared head of the pin will punch straight through the heel core.
This compresses the internal reinforcement tube and crushes the lower edge of the plastic block. That damage ruins the level stance of the shoe. When you try to remove it later, extraction becomes nearly impossible without sawing into the heel itself.
Leaving Slip-On Emergency Caps on Permanently
Temporary slide-on rubber caps are designed solely to get you home safely from an event. Leaving them on for days or weeks traps road grit and moisture against the exposed heel bottom.
The steel pin will chew through the soft rubber cap within a few miles. Dirt trapped underneath also grinds away at the lower seam of the leather wrap. Once the wrap unravels at the tip, a standard tap replacement can no longer fix the cosmetic damage.
Frequently Asked Questions About Exposed Stiletto Tips
Can I walk on an exposed metal pin just to get home?
You should avoid walking on an exposed pin whenever possible. The bare steel has almost zero traction on smooth tile, creating a severe slip hazard. Each step also mushrooms the metal and destroys the heel wrap, turning a $15 quick fix into a $60 repair job.
How long does a cobbler usually take to replace heel tips?
Most shoe repair shops complete a basic tip replacement in under twenty minutes for walk-in clients. If the shop is busy or your shoes require pin extraction and leather patching, turnaround usually takes one to two business days. Express kiosks in transit stations often do it on the spot.
How do I know what size replacement heel cap to buy?
Measure the diameter of the old metal pin using a digital caliper before buying parts. Most modern heels take either a 2.4 mm, 2.9 mm, or 3.0 mm post. You must also trace the shape of the heel bottom to match the polyurethane lift profile, such as round, U-shape, or teardrop.
Will replacing the tip fix my shoe if the heel is slightly wobbling?
Replacing the tip will not fix a wobbling heel. A loose or unsteady heel indicates that the internal structural screws or steel shank connecting the heel to the sole have loosened. That issue requires internal reinforcement, re-gluing, and screw replacement by a professional cobbler.
How many miles or wears should a good pair of heel taps last?
A quality high-durometer polyurethane heel tip lasts between three and six months of regular wear, roughly 50 to 100 miles of walking. Walking heavily on rough city pavement, metal grates, and cobblestones will cut that lifespan in half compared to indoor office wear.

Similar Posts