Rimless Glasses Screws Keep Loosening? How to Fix It
Founder & Fashion Creative Director at Julia Fashionista · CFDA Fashion Scholar, Certified Image Consultant (AICI) · 12+ years in editorial wardrobe styling, sustainable textile sourcing, and luxury capsule curation
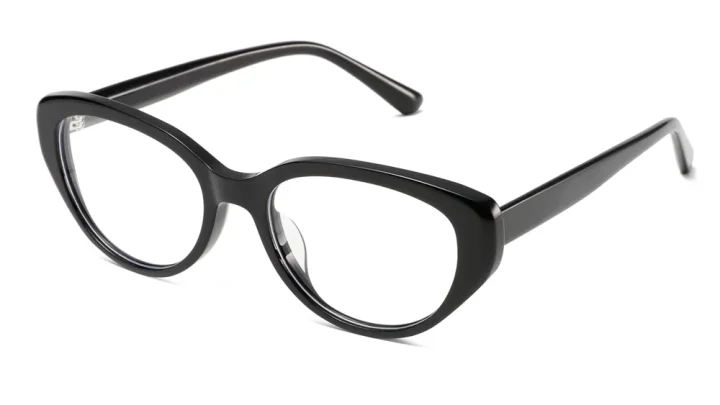
Few things are more frustrating than rimless glasses screws loosening constantly while you work or read. Every time you turn your head, the lens wiggles, throwing off your visual clarity and forcing you to search for that tiny screwdriver again.
Standard drill-mount spectacles rely on tiny hardware, often using standard M1.2 or M1.4 metric screws tensioned against slick optical coatings. Optical laboratory standards from bodies like The Vision Council emphasize that even minor flex along the frame edge creates dynamic torque. That repeated mechanical movement works tiny fasteners loose over time unless they are properly stabilized.
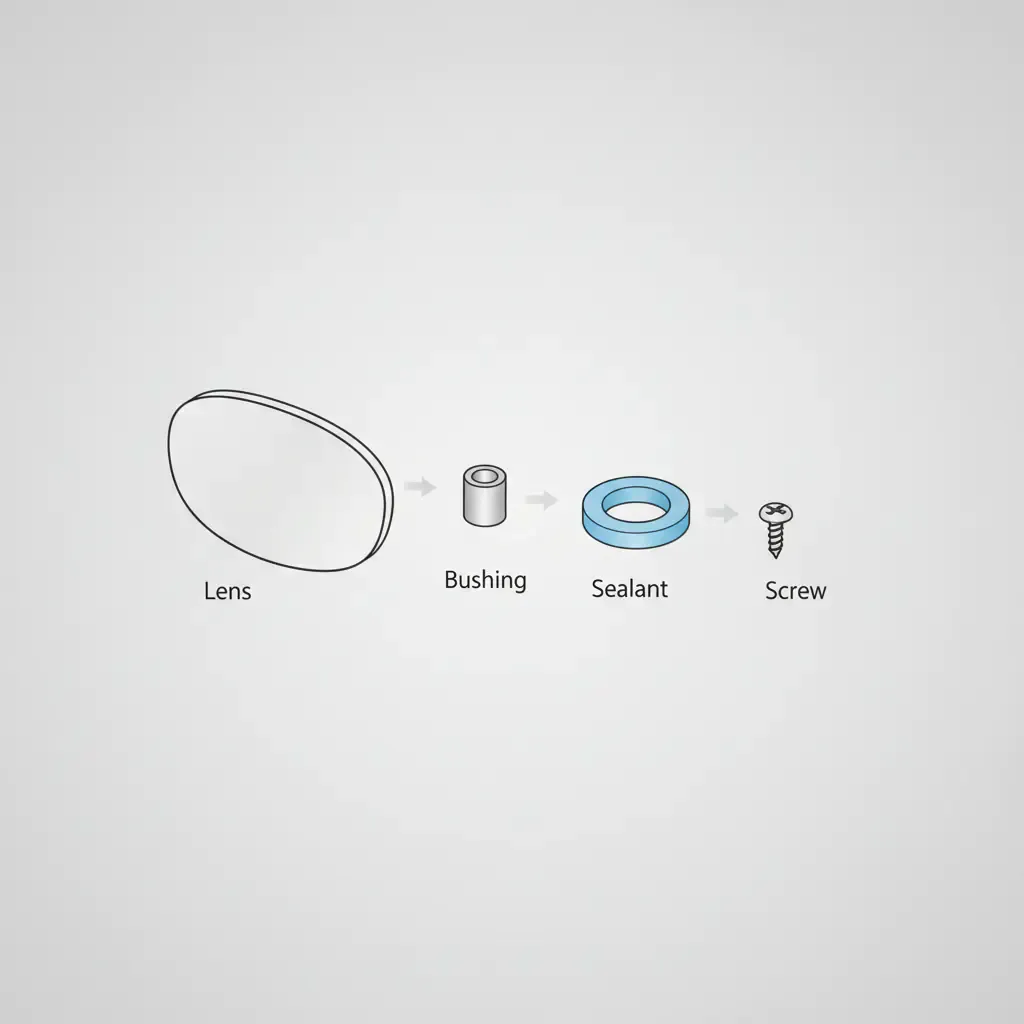
Image source: Bing (Web (fair-use with source credit))
Quick Answer
Stop rimless glasses screws loosening constantly by securing them properly. Do not simply tighten the hardware. Inspect the plastic washers first.
Replace any squashed nylon bushings. Degrease the screw threads with rubbing alcohol. Apply a tiny dot of low-strength purple threadlocker.
Snug the screw firmly, but avoid excessive force. Allow the compound to cure fully for twenty-four hours.
Why Your Rimless Glasses Screws Keep Backing Out
Rimless eyeglasses, also known as drill-mount frames, lack an outer protective rim to absorb daily physical stress. Every time you put your glasses on or take them off with one hand, you pull the temple outward. That action bends the hinge and turns the lens into a lever.
That lever transfers lateral force straight into the drill hole. Your mounting hardware handles that rotational load all day long. Because metal screws sit inside smooth holes drilled through slick polycarbonate or high-index resin, friction alone cannot keep them tight.
Here are the primary mechanical reasons your drill mounts keep slipping:
- Degraded plastic washers: Most rimless mounts place a tiny nylon friction washer between the metal screw head and the lens face. Over time, skin oils and UV exposure make these plastic buffers brittle. Once compressed or cracked, they lose their elasticity and release clamping tension.
- Wallowed drill holes: If a loose screw stays loose too long, the metal post rocks inside the glass or plastic. This movement slowly enlarges the mounting hole. Once the hole stretches, the hardware will not stay snug.
- Hinge binding: Dirt, sweat, and corrosion often lock up temple hinges. When a hinge stops swinging smoothly, opening the temple arms applies torque directly to the lens screws.
- Stripped microscopic threads: The tiny M1.2 threads strip easily under regular hand pressure. Even a partially stripped thread will jump teeth and loosen during standard wear.
The Diagnostic Decision Tree: Identifying Your Mounting Architecture
Before grabbing tools, identify your exact mounting system. Different mount styles require completely different repair steps. Using screw-locking techniques on a push-pin design will ruin your lenses.
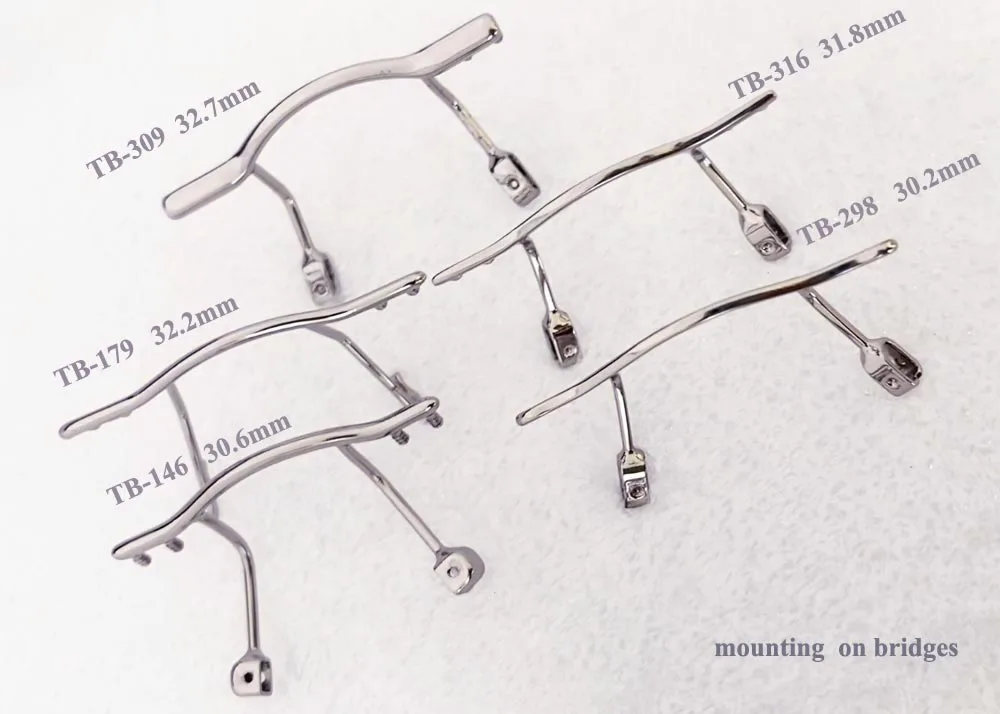
Image source: Bing (Web (fair-use with source credit))
Work through these steps to diagnose your frame setup:
                  Examine the back of the lens
                               |
         +---------------------+---------------------+
         |                                           |
Does it have a threaded                       Does it have two smooth
screw and metal nut?                           plastic prongs / pins?
         |                                           |
         v                                           v
[Threaded Nut/Screw Mount]                   [Pressure Bushing System]
         |                                           |
Check the hardware:                           Check the prongs:
- If threads wiggle: Replace nut/use locker. - If loose: Replace compression sleeve.
- If plastic washer is flat: Replace washer. - NEVER use threadlocker here.
Path A: Screw and Nut Assembly
Look closely at the rear side of the lens. If you see a small hexagonal nut, an acorn cap nut, or a screw end, you have a mechanical fastener assembly.
- If the screw turns but never gets tight: The threads are stripped. You need a replacement screw and nut.
- If the screw tightens but slips again by evening: The threads lack friction or the internal nylon washer has flattened completely.
- If the entire post shifts inside the lens hole: The internal drill hole is oversized. You need an expanding bushing sleeve.
Path B: Pressure Plug / Compression Bushing Systems
Popularized by brands like Silhouette, these frames feature no screws at all. Two barbed metal prongs push straight into a dual-chamber plastic compression bushing set inside the lens hole.
- If the lens wobbles on the pins: The plastic compression bushing has stretched or dried out.
- The Fix: Do not try to add glue. You must pull the prongs out with specialized optical extraction pliers and install a fresh plastic compression sleeve.
The Safe Fix Workflow: Step-by-Step Mechanical and Chemical Locking
For standard threaded drill mounts, combining mechanical tension with a chemical locking fluid solves recurring slippage.
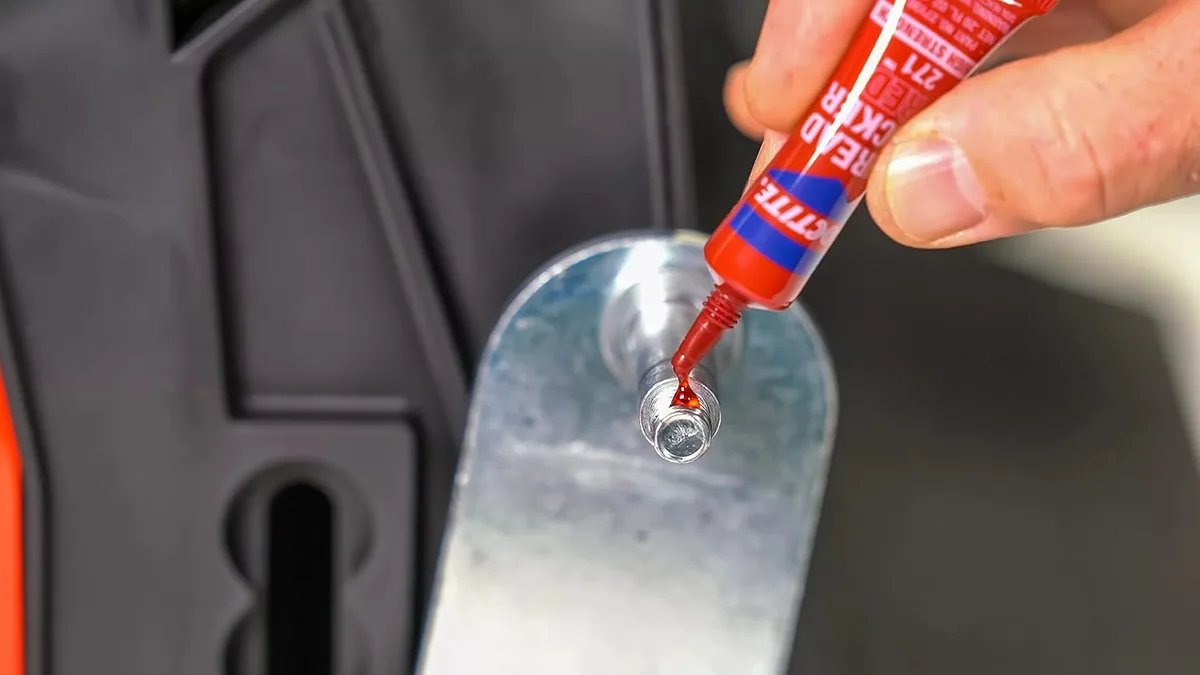
Image source: Bing (Web (fair-use with source credit))
Follow this workflow to lock the hardware safely:
1. Disassemble and Clean the Joint
Support the front of the lens on a flat, microfiber-covered surface. Use a proper 1.2mm or 1.4mm optical screwdriver to back the screw out completely.
Dab a cotton swab in 90 percent isopropyl alcohol. Wipe down the screw threads, the frame lug, and the washer area. Thread-locking fluids only bond to clean, oil-free metal.
2. Inspect and Refresh the Plastic Washers
Inspect the nylon washer resting between the metal screw head and the lens surface. If it looks squished flat, split, or discolored, replace it immediately. These tiny buffers preserve the mechanical spring rate that stops screws from backing out.
3. Apply the Locking Compound Correctly
Do not apply threadlocker straight from the bottle. You risk flooding the lens surface and ruining expensive anti-reflective coatings.
- Dispense a single drop of low-strength purple anaerobic threadlocker (such as Loctite 222) onto an index card.
- Dip the very tip of a clean wooden toothpick into the drop.
- Transfer a tiny speck of fluid directly onto the female threads of the nut or frame lug.
4. Torque to the Snug Point
Seat the screw through the components. Turn the screwdriver using gentle fingertip pressure only. Once the screw head contacts the nylon washer, stop.
Add one-quarter turn more to seat the components firmly. You should feel slight resistance as the nylon washer compresses. Stop immediately.
Never turn until the screw physically stops hard, as that force transfers directly into brittle lens material.
| Locking Method | Strength Profile | Safe on Polycarbonate? | Reversible? |
|---|---|---|---|
| Low-Strength Anaerobic (Loctite 222) | Thread-friction lock | Yes (threads only) | Yes, with hand tools |
| Clear Nail Polish (Topical) | Surface bridge | Yes | Yes, chips away easily |
| PTFE Plumber's Tape | Mechanical thread shim | Yes | Yes, fully removable |
| Cyanoacrylate (Superglue) | Permanent rigid bond | NO (cracks/frosts lenses) | No (destroys hardware) |
The Material Rules: Matching Solutions to Your Lens and Frame Type
The materials that make up your lenses and frames determine how much torque and chemical exposure your glasses can take. What works safely on standard plastic will permanently damage other materials.
Lens Substrates
- Polycarbonate: Highly impact-resistant, but extremely sensitive to solvents. Never let cyanoacrylate glues, aggressive threadlockers, or acetone contact polycarbonate. These chemicals cause instant crazing, creating thousands of microscopic cloud-like cracks.
- High-Index Resins (1.67, 1.74): Exceptionally thin and clear, but structurally brittle around drill holes. Tighten fasteners against high-index lenses very slowly. These materials offer poor shear resistance and chip easily if over-torqued.
- Trivex: The gold standard for rimless designs. It combines superior tensile strength with robust chemical resistance. It tolerates normal mounting friction and minor chemical contact far better than high-index plastics.
Frame Metals
Titanium and beta-titanium frames offer remarkable spring tension, but their flexibility is tough on mounting screws. As the flexible temple bends, the screw absorbs that movement.
When working with titanium drill mounts, always pair your screws with a nylon-insert locknut or an acorn cap nut. Plain nickel-silver nuts lack the grip needed to hold tight against springy titanium temples.
Critical Mistakes That Crack Lenses and Strip Threads
Drill-mount frames require a delicate hand. A single slip or wrong choice can mean buying a costly new lens.
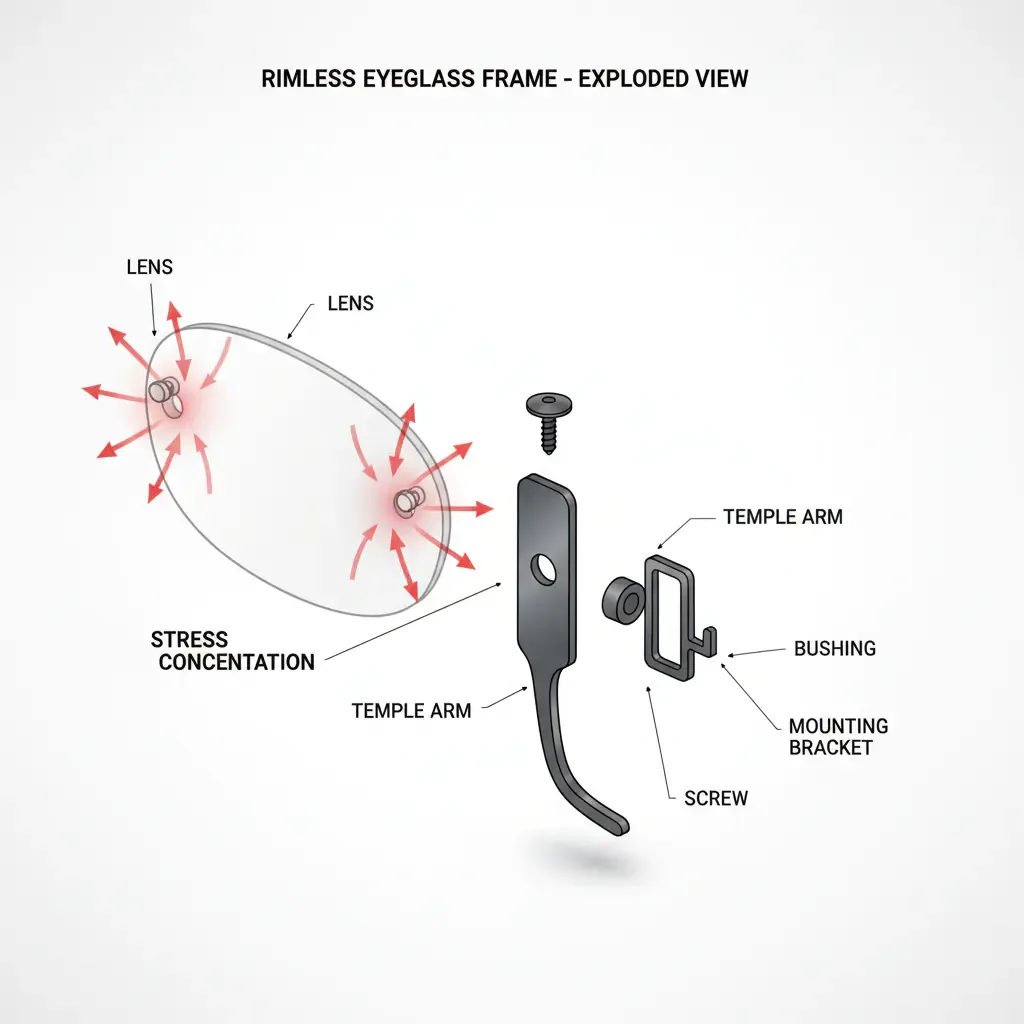
Image source: Bing (Web (fair-use with source credit))
Here are the most common repair pitfalls:
- Using Cyanoacrylate Superglue: Never put standard superglue on eyeglasses. Beyond ruining the lens coating with cloudy white fumes, superglue locks the threads permanently. When the mount wiggles loose again later, you cannot tighten it.
- Overtightening to Compensate for Wear: If a screw keeps loosening, cranking it down harder is not the answer. Standard optical fasteners run on delicate metric threads that strip under minimal load. Over-torquing crushes the protective nylon washer and snaps the thin edge of the lens hole.
- Using the Wrong Driver Size: Precision optical screwdrivers come in 1.2mm, 1.4mm, 1.6mm, and 1.8mm blade widths. Using an undersized screwdriver strips out the tiny screw head slot. Make sure your driver blade fills the screw slot completely before applying rotational pressure.
- Skipping the Backing Nut Support: When tightening a screw on a nut-and-bolt mount, use an optical hex driver to hold the nut completely still. Turning the screw head while the nut spins scrapes against the back surface of your lens.
Long-Term Maintenance: Keeping Drill Mounts Rigid Without Regular Tightening
Preventing loose mounts comes down to handling habits and routine upkeep. Drill-mount frames require different care than full-rim plastic or metal styles. A few small adjustments to your daily routine will stop dynamic stress from loosening your hardware.
Always use two hands when putting on or removing your glasses. Gripping one temple pulls the entire frame diagonally across your face. That single-hand habit creates uneven leverage against the nose bridge and the temple mounting pins.
Over time, that repeated twisting force breaks down the thread seal.
Clean your hinge pivots regularly to prevent mechanical binding. Sweat, dead skin cells, and facial oils seep into the hinge barrel. When those oils dry, they create gritty friction that stiffens the hinge arm.
Wash the frames weekly using lukewarm water and a drop of lotion-free dish soap.
Store your glasses in a rigid, form-fitting hard case whenever you are not wearing them. Soft slip pouches allow frames to flex inside pockets or bags. That outside pressure crushes the nylon compression washers and loosens the mount posts.
As of 2026, leading optical chassis designs rely on pre-tensioned bushings that stay rigid only when protected from bending forces.
Schedule a quick annual checkup with your optician to replace worn plastic fittings. Gaskets naturally dry out, shrink, and lose elasticity after twelve to eighteen months of environmental exposure. Swapping in fresh nylon washers restores spring tension and keeps your drill mounts rock solid for the year ahead.
Frequently Asked Questions About Loose Rimless Spectacles
Can I use blue Loctite on my rimless eyeglass screws?
No, blue Loctite 242 is too strong for tiny optical screws. It requires substantial breakaway torque that will snap microscopic M1.2 fasteners or crack brittle lens edges upon removal. Use low-strength purple Loctite 222 instead.
It secures delicate threads while allowing safe removal with standard hand screwdrivers.
Why does my drill-mount lens wiggle even when the screw is tight?
Your lens wiggles because the protective nylon bushing inside the drill hole has flattened or worn away. When that cushion shrinks, the metal screw shank floats inside the hole without grip. Tightening the screw further will crack the lens edge.
You must install a fresh plastic washer or bushing.
How do I fix rimless glasses that use plastic push pins instead of screws?
Do not use liquid threadlocker or glue on push-pin frames. You need to replace the internal plastic compression sleeves. An optician uses specialized extraction pliers to pull the metal mounting prongs free.
They slide a fresh dual-chamber nylon sleeve into the lens hole, then press the metal pins back into place.
Will clear nail polish fix loose screws without damaging my lenses?
Clear nail polish works well as an external surface bridge. Apply a microscopic dab across the exposed nut and screw tip after tightening the assembly. It forms a brittle film that keeps the fastener from turning.
Unlike liquid superglue, it will not fog your anti-reflective lens coatings or melt polycarbonate.
How often should optical compression washers be replaced?
Plan to replace your optical compression washers every twelve to eighteen months. Ultraviolet light, ambient humidity, and skin oils slowly degrade the nylon material. Once the washers harden, they cannot maintain active clamping pressure against the lens surface.
An optical repair shop can swap all four washers in minutes.

Similar Posts