How to Steam Creases Out of a Packable Straw Hat
Founder & Fashion Creative Director at Julia Fashionista · CFDA Fashion Scholar, Certified Image Consultant (AICI) · 12+ years in editorial wardrobe styling, sustainable textile sourcing, and luxury capsule curation
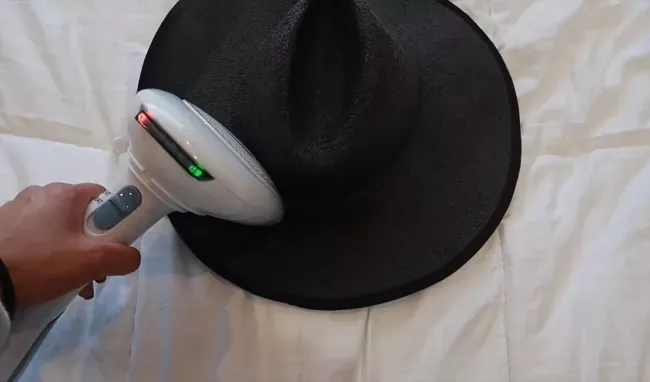
You pull your favorite sun hat from your suitcase, only to find deep folds, an inverted crown, and a badly mangled brim. Using a packable straw hat crease removal steamer is the fastest, safest way to relax those crushed fibers and bring the original silhouette back to life.
Natural and synthetic plant weaves rely on heat and moisture to reset their structural shape. Standard garment steamers release low-pressure vapor around 100°C (212°F) that penetrates the straw braid without burning it. With the right technique, you can easily restore your hat without damaging its delicate fibers.
Image source: Bing (Web (fair-use with source credit))
Quick Answer
A handheld garment steamer quickly removes creases from packable straw hats. Hold the steam nozzle six to eight inches away from the hat. Apply warm vapor for three to five seconds per section.
Support the crown from inside using a rolled cotton towel. Gently reshape the warm weave with your fingers. Let the hat dry and cool completely for 30 minutes.
The Problem with "Packable" Straw Hats After Unpacking
Travel brands love to market straw hats as fully crushable and packable. While these hats handle travel better than rigid stiffened straw, they still suffer when squeezed inside a tight suitcase for hours. The weight of packed clothing presses hard edges into the weave, creating sharp creases and buckled brims.
Straw fibers like toquilla, raffia, and twisted paper contain plant cellulose. When dry, these fibers have high rigidity and low elasticity. Folding them forces the cellular walls to bend past their natural resting point.
This mechanical stress breaks the factory shaping and locks the crushed shape in place.
Trying to force these creases out by hand while the straw is completely dry will often crack or snap the delicate strands. Steam provides the humidity and heat needed to soften the fiber's natural binders. This lets you re-align the weave without breaking the hat.
Identify Your Straw: The Make-or-Break Decision Branch
Before aiming a steamer at your hat, you must know what material you are working with. Different straws respond to moisture in radically different ways. Treating every hat the same will quickly ruin your headwear.
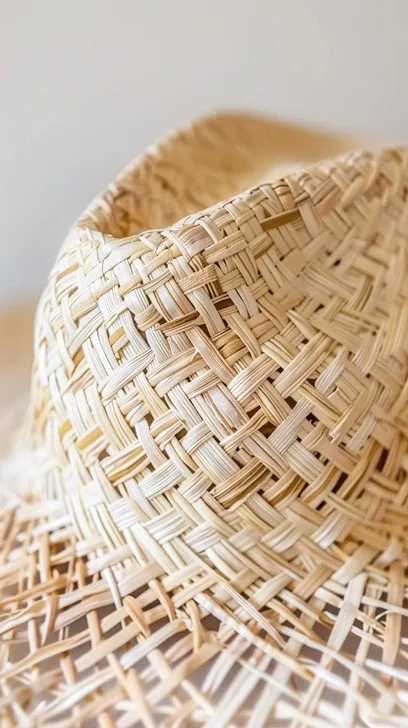
Image source: Bing (Web (fair-use with source credit))
Natural Plant Fibers: Toquilla and Raffia
Authentic Panama hats use woven toquilla straw, while many wide-brim sun hats use Madagascar raffia. These are genuine palm and plant fibers with natural oils. They love gentle moisture and respond well to steam.
According to conservation guidelines from The Textile Institute, natural cellulosic plant fibers gain temporary pliability when exposed to controlled heat and humidity.
- Reaction: Absorbs vapor smoothly, softens quickly, and hardens back into place as it cools.
- Steaming rule: Keep the steam nozzle six inches away. Work in brief five-second passes.
Paper Braid and Toyo Straw
Toyo straw is actually tightly twisted rice paper or wood-pulp paper coated in a light resin or cellophane glaze. Many modern packable fedoras use this exact material.
- The danger: Excess water dissolves the paper sizing. Blasting toyo straw with heavy, sputtering steam turns the braid into soft mush.
- Steaming rule: Use indirect, dry steam only. Stay eight to ten inches away. Never let water droplets soak into the braid.
Synthetic Straws: Polypropylene and Polyester
Many travel hats blend or fully feature plastic woven filaments. These hold up well against rain, but they carry a high risk of thermal damage.
- The danger: Synthetic fibers soften at lower temperatures and melt near 150°C (302°F). High heat can permanently warp or melt the strands.
- Steaming rule: Keep the steamer at least eight inches away. Apply heat for no more than two to three seconds at a time.
| Straw Material | Fiber Origin | Water Tolerance | Optimal Steamer Distance | Crease Recovery Speed |
|---|---|---|---|---|
| Raffia | Natural palm leaves | High | 5 to 6 inches | Very Fast |
| Toquilla (Panama) | Carludovica palmata | Moderate | 6 to 7 inches | Fast |
| Toyo / Paper Braid | Twisted rice paper | Very Low | 8 to 10 inches | Moderate (handle gently) |
| Polypropylene | Synthetic plastic polymer | High (waterproof) | 8 to 9 inches | Slow (heat sensitive) |
Garment Steamers vs. Alternative Steam Sources
A dedicated handheld garment steamer is the best tool for this job. Its wide nozzle spreads heat evenly, reducing the risk of water spotting. Travel steamers are compact, warm up within a minute, and run safely on standard hotel power.
As of 2026, most travel steamers feature anti-drip pumps, which keep hot water from spitting onto the straw.
If you don't have a garment steamer while traveling, a standard electric tea kettle can work in a pinch. The narrow kettle spout creates a concentrated jet of steam that is great for targeted spot treatment. However, the high pressure can over-saturate tiny spots, so you need to keep the hat moving constantly.
Avoid relying on a steamy bathroom shower. Shower steam lacks the direct heat needed to reset dried cellulose memory. It raises ambient humidity and softens the whole hat at once, which often causes the brim to droop under its own weight.
Avoid using a flat clothing iron directly on the straw as well. Pressing dry heat directly onto raised weaves will crush the profile flat, glaze synthetic strands, and scorch natural braids.
Step-by-Step Steaming and Reshaping Workflow
Getting your hat back into shape requires a gentle touch and the right internal support. Never try to reshape a straw hat in thin air.
Image source: Bing (Web (fair-use with source credit))
Step 1: Build an Internal Crown Mold
Roll a clean, dry cotton bath towel into a dense, smooth ball. Pack the rolled towel firmly into the hat's crown until it fills the space completely. This gives you a firm base to press against and keeps the crown from buckling while you work.
Step 2: Purge the Steamer
Turn on your steamer and let it heat up completely. Point the nozzle away from your hat and squeeze the trigger to clear out any sputtering water drops. Only apply a smooth, steady plume of steam to the straw.
Step 3: Steam the Crown
Hold the nozzle six to eight inches away from the hat. Move the steam head around the crown in smooth, circular passes. Give each creased section three to five seconds of steam to warm the fibers.
Step 4: Mold the Creases Smooth
Set the steamer down. Use your clean, bare palms and fingertips to stroke the warm weave over the towel mold. Press firmly to smooth out the creases.
Always work in the direction of the braid to avoid pulling the fibers apart.
Step 5: Level the Brim
Place the hat flat on a clean table or hotel desk. If the brim has a wire edge, gently bend it straight with your fingers. Hold the steamer six inches above the brim, sweeping it around the edge for five seconds.
Press the flat brim down against the table surface using a clean, folded hand towel.
Common Steaming Mistakes That Ruin Straw Hats
The biggest mistake is holding the steamer nozzle directly against the straw. Touching the hot plate to natural straw strips away factory sealants, while touching it to synthetic braid can melt the weave instantly. Always maintain that six-inch buffer zone.
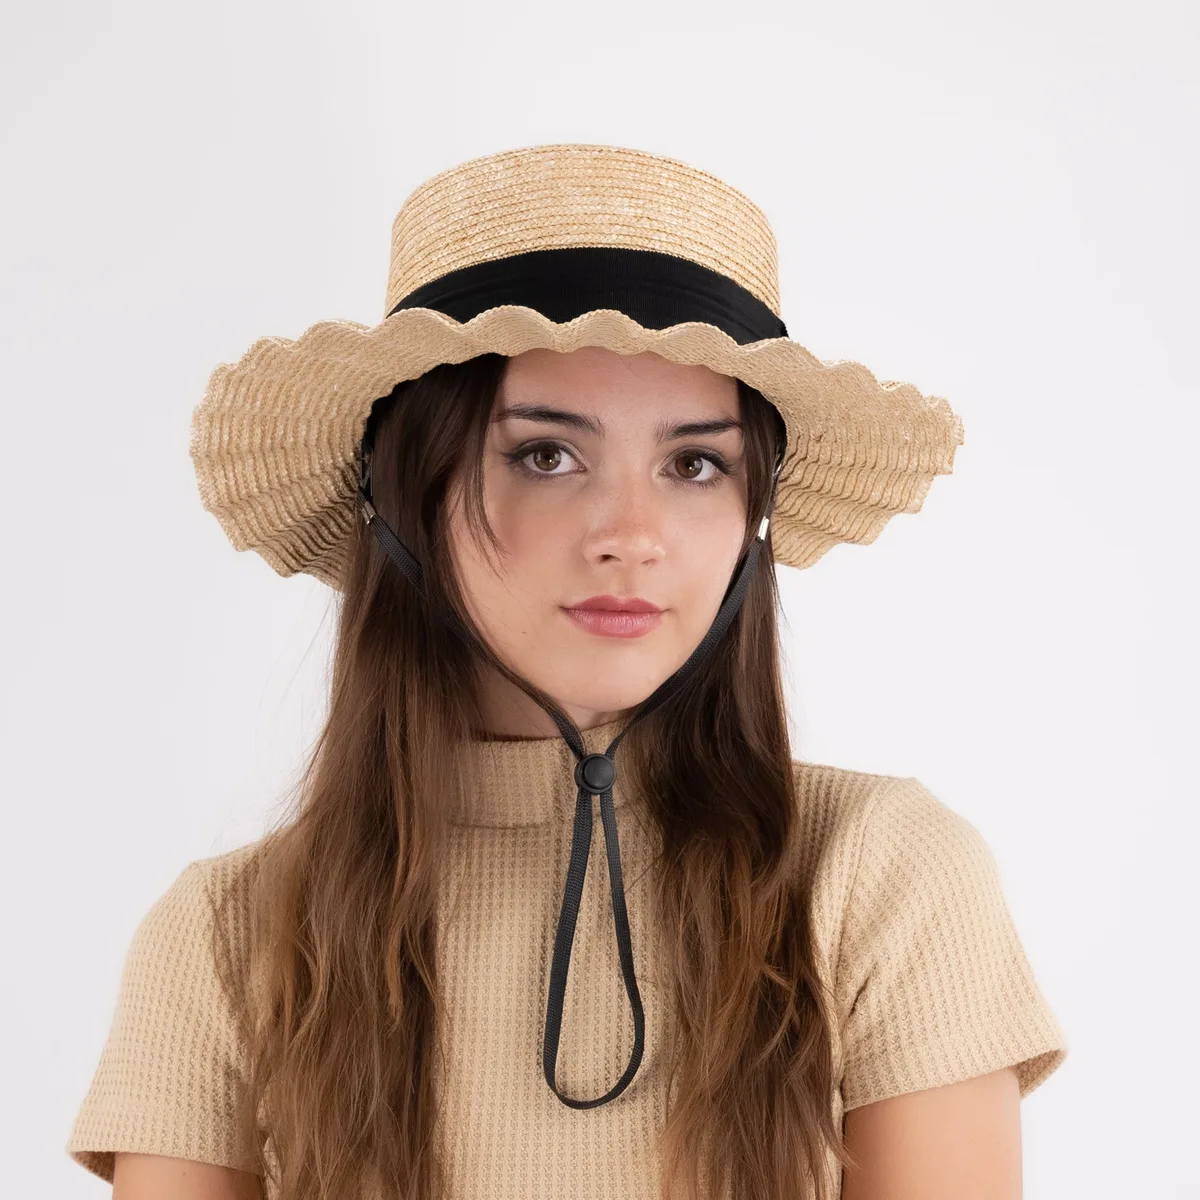
Image source: Bing (Web (fair-use with source credit))
Another frequent error is creating a wavy "bacon brim." This happens when you stretch, pull, or iron a wet brim unevenly. The damp straw expands, and any pulling makes the edge longer than the hat body, leaving you with permanent ruffles.
- Using hard tap water: Tap water with high mineral levels can spit chalky white calcium deposits onto dark weaves. Always choose distilled water when possible.
- Over-saturating paper hats: Drenching toyo straw dissolves the internal glue, leaving you with a floppy, ruined crown that cannot hold its shape.
- Wearing the hat while it's still damp: Your head's body heat and sweat will cause the damp, pliable sweatband to warp, permanently stretching the hat out of shape.
Caring for Your Hat Post-Steam to Hold the Shape
Steaming relaxes straw fibers, but cooling is what locks their final shape into place. If you move or wear the hat while it is still warm and damp, it will immediately lose its form. Plant fibers need time to release moisture so their cell walls can stiffen again.
Leave the rolled towel inside the crown for at least 30 to 45 minutes after you finish steaming. Place the hat on a clean, dry, flat surface away from direct sunlight and heater vents. Fast, uneven drying from high heat can cause natural straw to shrink or curl at the edges.
Airflow is critical during this cooling phase. Humid hotel bathrooms trap moisture, which delays drying and can cause mildew to form beneath the inner sweatband. Move the hat into the main room where the air conditioner or ceiling fan provides steady circulation.
If your brim tends to curl upward unintentionally, weigh it down while it cools. Place clean, heavy hardcover books across the brim edges, keeping the weight off the crown. Once the straw feels room-temperature and dry to the touch, you can safely remove the towel.
Frequently Asked Questions About Steaming Straw Hats
Can you ruin a straw hat with a garment steamer?
Yes, you can easily ruin a straw hat if you hold the steamer too close or over-saturate delicate paper braids. High heat melts synthetic weaves like polypropylene. Excessive moisture dissolves the sizing adhesives in paper toyo hats, causing the weave to collapse permanently.
How long does it take for a steamed straw hat to dry?
A lightly steamed straw hat typically dries and resets within 30 to 45 minutes in a well-ventilated room. Hats made of dense natural plant fibers like toquilla or thick raffia may require up to two hours to fully dry if deeply steamed.
Can I use a hair dryer instead of a garment steamer?
A standard hair dryer only blows dry heat, which bakes and brittles straw fibers rather than relaxing them. Straw needs moisture paired with heat to regain its flexibility. Blowing hot, dry air onto a creased hat can crack the weave rather than smoothing it out.
Will steaming remove the hat's factory stiffener?
Heavy, direct steaming will break down the water-soluble sizing agents added during factory manufacturing. Keeping the steam head six to eight inches away prevents this problem. If a hat feels too soft after drying, a light mist of millinery stiffener spray restores its firmness.
What should I do if my hat brim turns wavy after steaming?
Lay the wavy brim flat on a firm table. Cover the straw with a dry cotton pressing cloth. Rest a stack of heavy, flat books on top of the cloth-covered brim.
Leave the weights in place for two hours until the fibers cool and flatten completely.
The Quick-Reference Hat Reshaping Guide
Fixing travel creases quickly comes down to matching your technique to the specific straw type. Keep this simple workflow in mind whenever you unpack a crushed hat on trips.
First, identify the fiber. Natural raffia handles standard steam passes without issue. Delicate paper toyo demands wide, cautious passes to avoid soaking the braid.
Synthetics require quick, low-temperature sweeping motions to prevent fiber melting.
Next, prepare your mold. Never steam an unsupported crown. A tightly rolled cotton towel creates a solid foundation that preserves the head shape while you work.
Finally, manage your distance and drying time. Keep the steam nozzle at least six inches away from the material. Work in short bursts of three to five seconds per section.
Let the straw rest undisturbed on a flat surface for 45 minutes so the fibers can fully harden back into shape.

Similar Posts