Boots Tight Across the Top? How to Fix High Instep Pain
Founder & Fashion Creative Director at Julia Fashionista · CFDA Fashion Scholar, Certified Image Consultant (AICI) · 12+ years in editorial wardrobe styling, sustainable textile sourcing, and luxury capsule curation
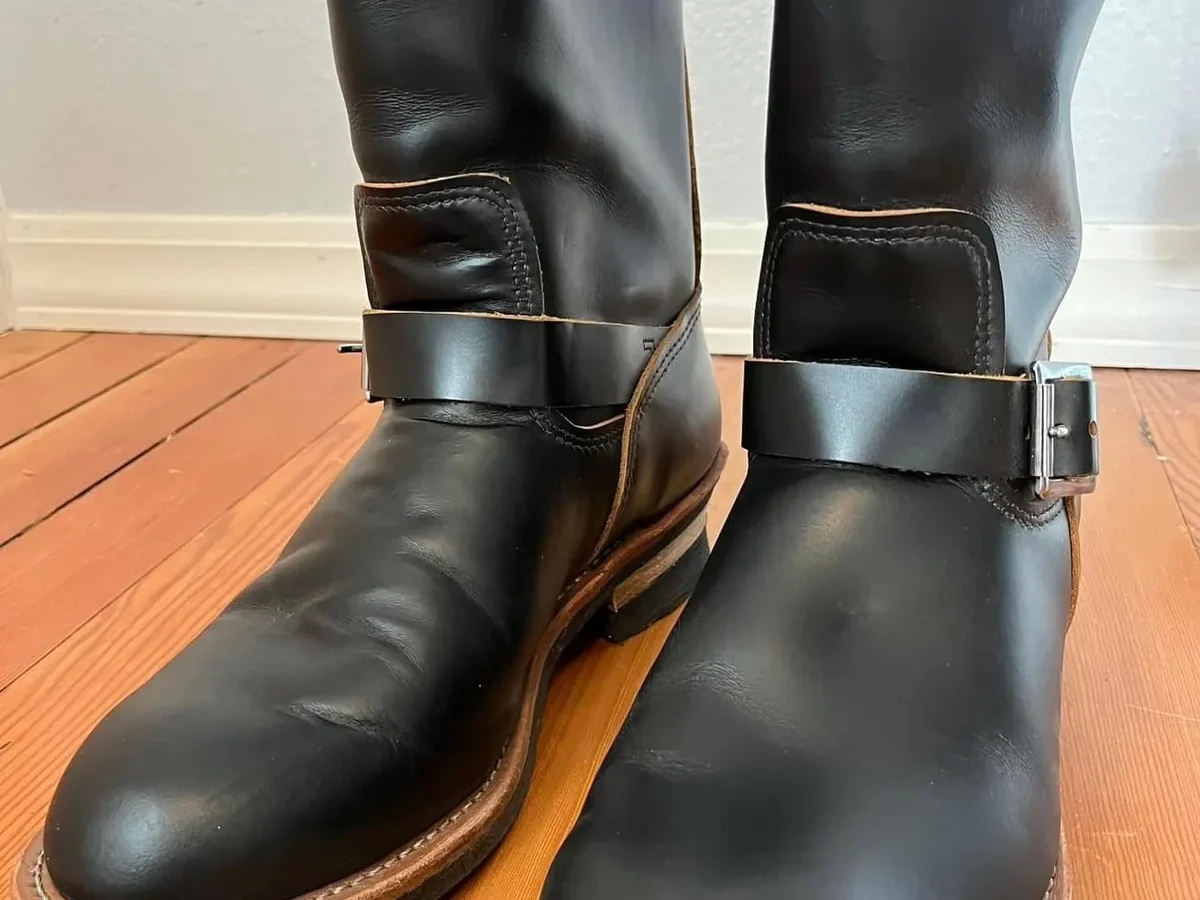
When you have a high arch, instep tight across top of boot pain is an immediate issue. That sharp pinching sensation over the bony ridge of your foot ruins an otherwise great pair of boots.
This pressure usually stems from low vertical clearance in the boot throat line rather than incorrect sizing. Standard boot lasts often fail to account for a prominent navicular bone or high dorsal volume. As of 2026, research shows that dorsal compression frequently causes nerve irritation if left unaddressed.
Here is how to diagnose the issue and fix the fit quickly.
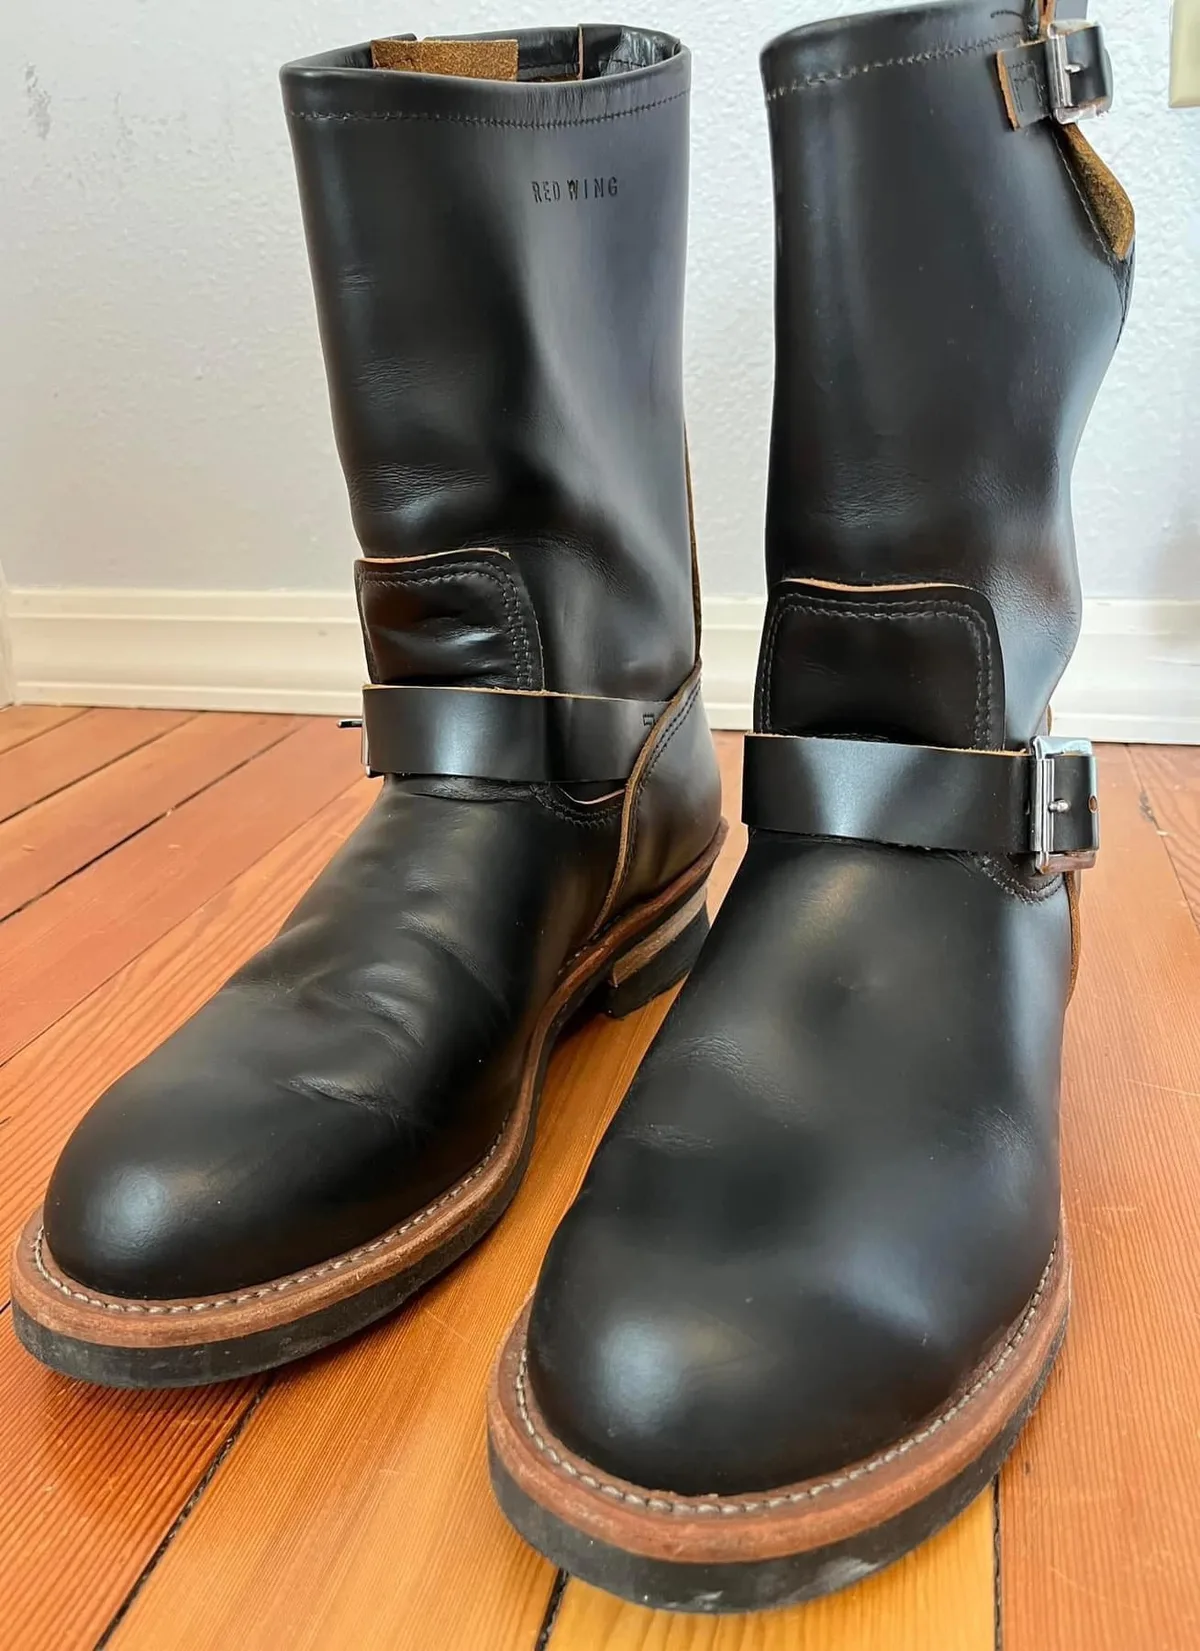
Image source: Bing (Web (fair-use with source credit))
Quick Answer
A high arch instep tight across top of boot pinch means low vertical volume. Skip eyelets over the hotspot using parallel window lacing on lace-up boots. Swap thick factory insoles for ultra-thin 1.5 mm veg-tan leather footbeds.
For pull-on boots, use an instep stretcher with a targeted vamp riser plug. Apply a 1:1 alcohol and water solution to soften the leather fibers first.
Why Boots Pinch the Top of Your Foot (Arch vs. Instep)
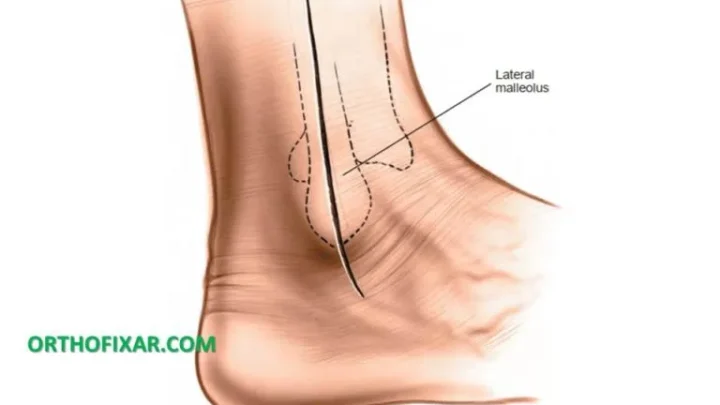
Understanding the difference between your arch and your instep is essential. Your arch sits along the curved bottom profile of your foot, known as the plantar surface. Your instep is the arched upper surface of the human foot between the toes and the ankle, known as the dorsal side.
The Anatomy of Instep Pressure
The instep houses the cuneiform bones and the navicular bone. The deep peroneal nerve and the dorsal venous arch run directly over these rigid bones.
When a stiff leather vamp presses downward against these structures, it creates localized ischemia. This reduced blood flow leads to numbness, tingling, or throbbing pain.
Clinical guidelines from the American Orthopaedic Foot & Ankle Society point out that midfoot nerve entrapment often results from footwear that lacks adequate dorsal depth. Ignoring this pressure can lead to chronic inflammation or lasting numbness across your first two toes.
Why Most Advice Makes It Worse: The Insole Trap
Many boot owners mistakenly buy supportive arch insoles to cure this pinch. That decision almost always backfires.
An aftermarket high-arch insole features a thick, molded arch contour. This extra support pushes your entire midfoot upward.
By raising the foot inside the boot, you drive your dorsal bones even harder against the throat line. The upper leather has fixed boundaries. Adding bulk below your foot steals the exact vertical volume you need to relieve the pinch.
The Diagnostic Workflow: Identifying Your Boot Type and Upper Construction
Before you alter your footwear, you must diagnose your boot type and its construction. Different materials and build methods determine how much room you can gain.
| Boot Variable | Key Identifier | Best Relief Method |
|---|---|---|
| Lace-Up Boots | Eyelets, tongue, and laces present | Window lacing or tongue adjustment |
| Pull-On Boots | Solid leather vamp, no lacing system | Mechanical instep stretcher with plugs |
| Removable Insole | Footbed pulls out freely | Swap for ultra-thin leather slab |
| Fixed Leather Bed | Glued or stitched lasting board | Dedicated mechanical stretching |
| Lined Waterproof | Gore-Tex or bootie membrane inside | Insole adjustment only (lining will not stretch) |
Lace-Up Work and Heritage Boots
Lace-up boots offer the simplest path to relief. Because the upper relies on two eyelet facings joined over a flexible tongue, you can adjust internal pressure by changing how the laces cross. Heritage work boots using thick, unlined leather respond very well to lacing shifts.
Pull-On Western and Wellington Boots
Pull-on boots, such as roper, cowboy, or Wellington styles, lack adjustable hardware. The instep fit in these boots acts as the primary anchor holding your heel in place.
If the vamp is too loose, your foot slips forward. If it is too low, it bites into your foot with every step. You must preserve the rearfoot lock while creating just enough vertical clearance for the instep bone.
Assessing Lining, Leather Tanning, and Removable Beds
Check inside your boot. If you feel a synthetic waterproof bootie, mechanical stretching becomes difficult. Leather expands, but internal waterproof membranes do not stretch and can tear under pressure.
Chrome-tanned uppers stretch faster than heavy, vegetable-tanned leathers. Finally, check if the footbed pulls out cleanly or if your foot rests straight on a stitched fiberboard base.
Branch 1: Zero-Cost Fixes for Lace-Up Boots
If your boots have eyelets, you can solve this problem in minutes without tools or chemicals.
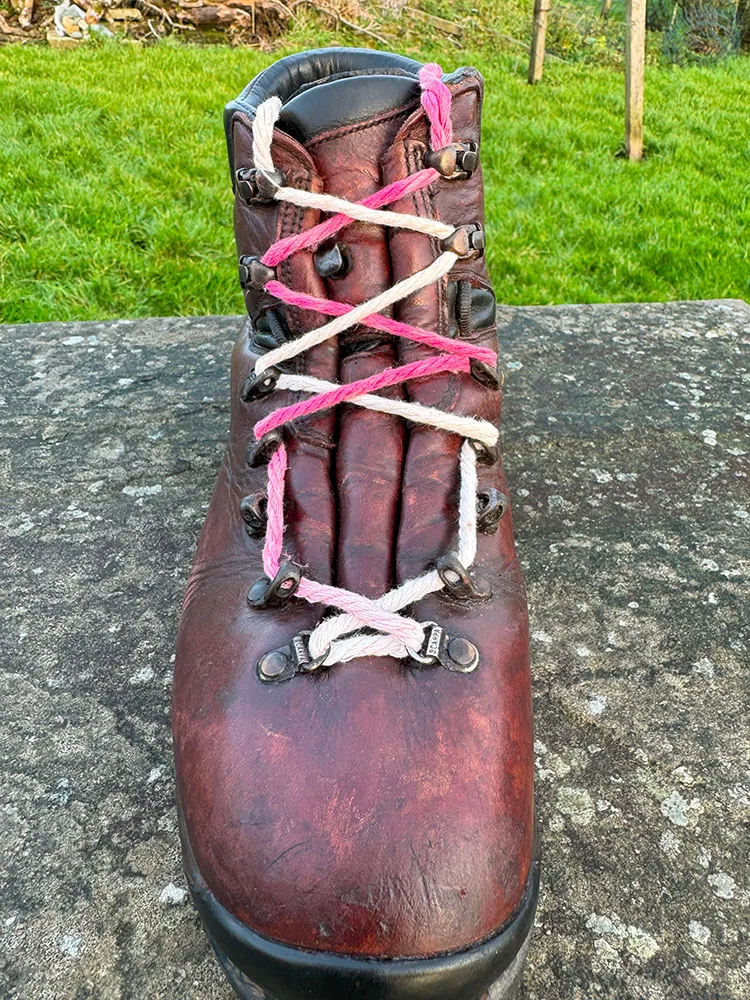
Image source: Bing (Web (fair-use with source credit))
Window Lacing (Parallel Skip-Lacing) Technique
Window lacing, also known as box or parallel skip lacing, removes pressure directly over the most sensitive spot on your instep.
- Unlace your boot down to the eyelets just below where the painful pinch begins.
- Instead of crossing the laces over the tongue to the opposite side, run each lace straight up to the eyelet directly above it.
- This creates an open rectangular "window" or box over the top ridge of your foot.
- Cross the laces normally again through the remaining upper eyelets and tie off the boot.
This simple layout maintains firm tension through the ankle and toe box. At the same time, it leaves the leather over your dorsal ridge completely loose.
Tongue Repositioning and Kiltie Adjustments
Sometimes the tongue itself creates the pinch. Check to see if the leather tongue folds unevenly beneath the eyelet stays. A double fold adds several millimeters of compressed leather over your bone.
If you use a false tongue or kiltie for brush protection, remove it. Eliminating that extra layer of hide will instantly restore precious space across your instep.
Branch 2: Drop-In Footbed Adjustments and Volume Recovery
When lacing changes do not create enough room, target the space beneath your foot. Every millimeter of thickness you remove from below translates directly into instep clearance above.
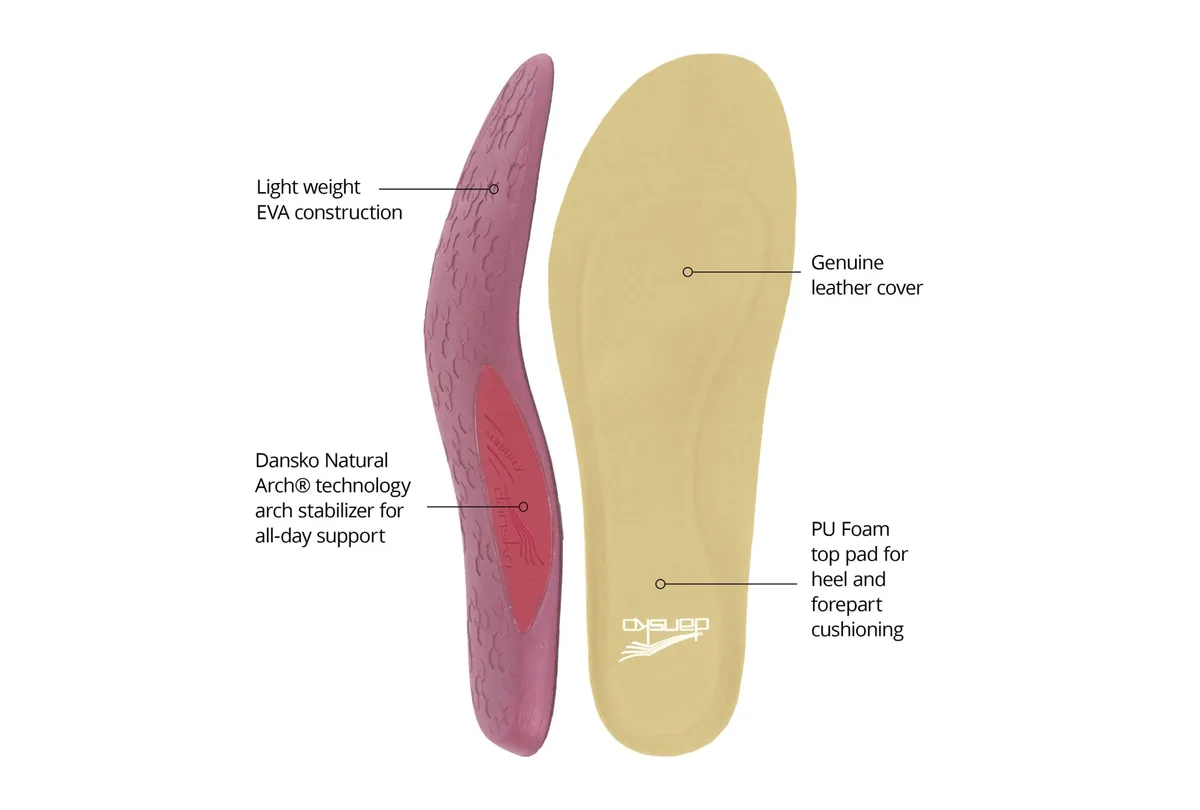
Image source: Bing (Web (fair-use with source credit))
Swapping Thick PU/EVA Beds for Ultra-Thin Leather Slabs
Most modern work and outdoor boots come with molded polyurethane (PU) or EVA foam footbeds. These inserts range from 5 mm to 7 mm in thickness at the forefoot and midfoot.
Swap that thick factory bed for a flat, 1.5 mm vegetable-tanned leather insole. This simple switch immediately creates 3.5 mm to 5.5 mm of vertical space across the entire throat of the boot.
It keeps your foot protected while dropping your midfoot into the widest part of the boot cavity.
When to Remove the Insole Completely
If your boots feature a finished leather lasting board, try wearing them with the factory footbed removed.
Many classic Goodyear-welted boots are built to be worn directly against their internal cork-and-leather footbeds. If the lasting board is smooth and clear of exposed nails, pulling the foam insert out can solve the instep pinch right away.
Branch 3: Mechanical and Chemical Stretching for Stubborn Leather
Pull-on boots and thick heritage leathers that still pinch require mechanical stretching. This approach permanently relaxes the tight leather fibers.
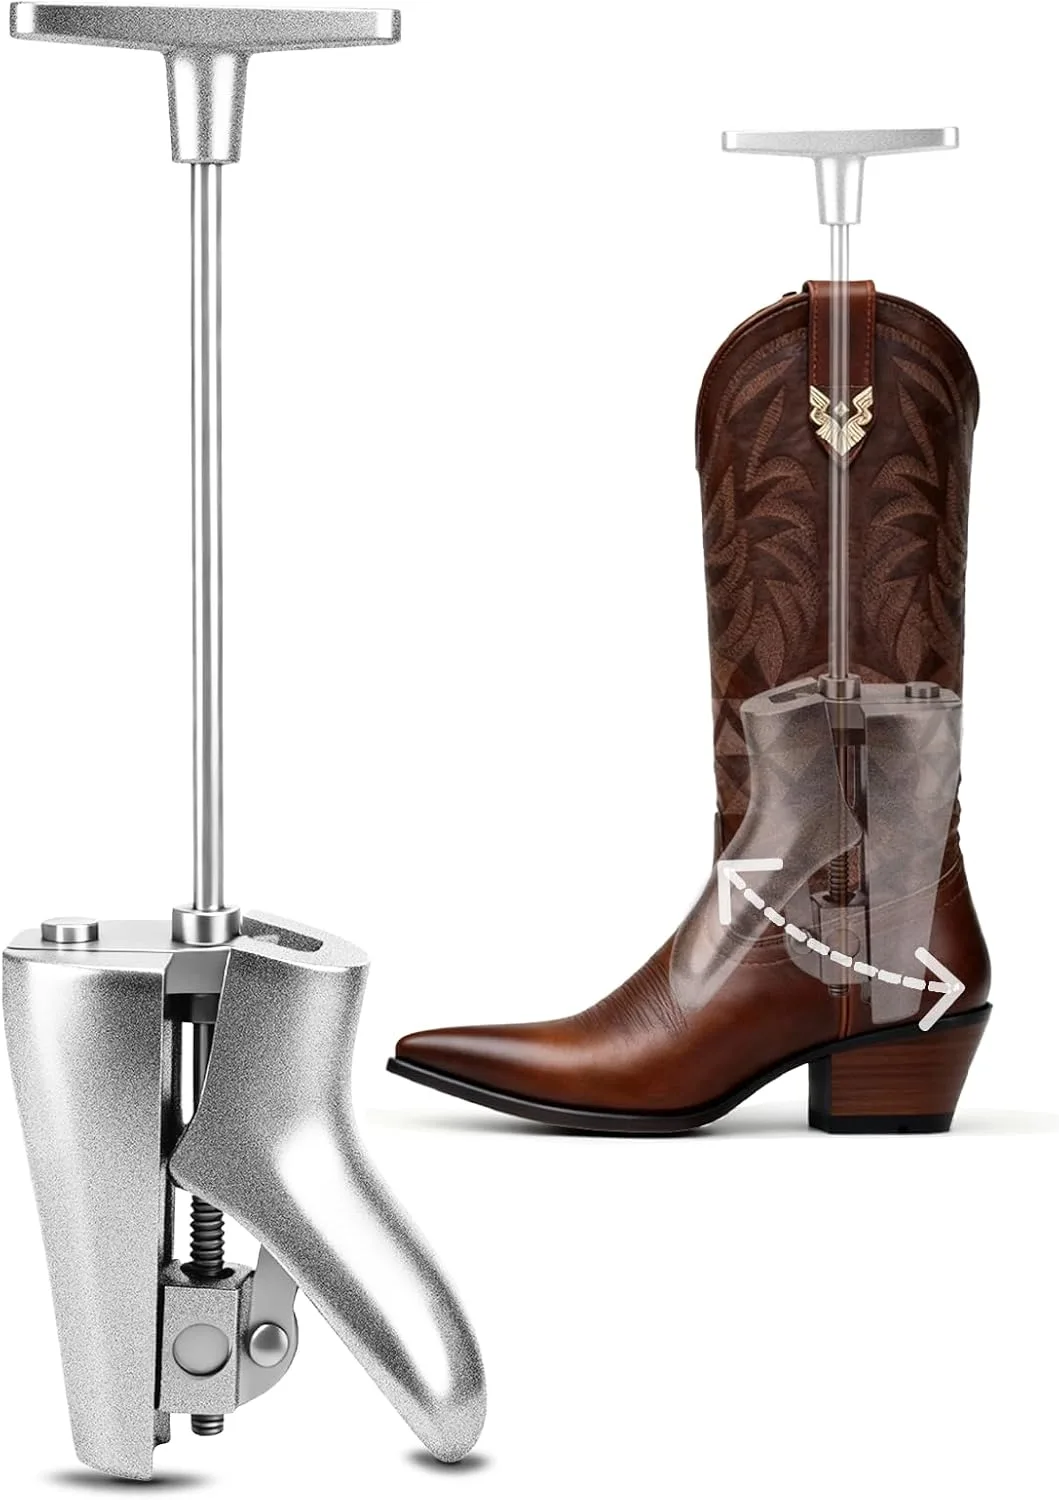
Image source: Bing (Web (fair-use with source credit))
The Alcohol-Conditioner Stretch Method
Never use plain water, as it can cause stiff spots on dried leather. Instead, make an effective home stretching solution by mixing equal parts 70% isopropyl alcohol and warm tap water.
- Spray the 1:1 mixture liberally onto the inside throat and instep of the boot.
- Do not saturate the outside leather finish, which could spot or stain.
- The alcohol relaxes the hide's collagen matrix, making it pliable.
- Put on a pair of thick wool socks and wear the boots until the dampness dries completely.
- Apply a lanolin-based leather conditioner right after the hide dries to replenish natural oils.
Using an Instep Stretcher with Vamp Raiser Plugs
For stubborn pull-on boots, a specialized instep stretcher works best. Standard two-way shoe stretchers only push sideways, which does not solve instep tightness.
- Insert the wooden shoe form into the boot with a raised plastic vamp plug attached to the top plate.
- Turn the long mechanical screw clockwise until the plug lifts upward against the throat line.
- Once the mechanism feels snug against the leather, add one to two full turns. Do not force it further, or you risk popping the welt stitching.
- Leave the stretcher under tension for 24 to 48 hours to allow the fibers to settle.
Materials You Should Never Attempt to Stretch
Be realistic about your boot materials. Genuine cowhide, horsehide, and suede stretch very well.
Synthetic leathers, rubber-shelled boots, and thick composite safety toes will not budge. Forcing a mechanical stretcher against a composite toe cap or a non-stretch synthetic shell can ruin the tool and crack the boot.
What to Do When DIY Fails: The Cobbler Escalation Path
When home adjustments fall short, a professional repair shop is your best option. Cobblers have heavy machinery designed to isolate pressure points without wrecking boot construction.
Roller Stretching and Last Modification
Shoe repair shops use heavy-duty cast-iron instep machines and mechanical roller stretchers. Unlike consumer plastic devices, these shop tools generate localized, uniform hydraulic pressure directly against the throat line.
A skilled cobbler will steam the leather from inside the shaft to plasticize the core fibers. They mount the boot onto a modified wooden last, stretching the vamp safely past what home screws can achieve. Trade guidelines from the Shoe Service Institute of America emphasize that professional vamp stretching preserves structural stitching while permanently shifting stubborn leather fibers.
Vamp Splitting and Elastic Gusseting
If heavy stretching cannot yield enough height, a cobbler can modify the upper itself. This process works well on pull-on work boots and Western styles.
The cobbler cuts a discreet slit along the side seam of the vamp throat. They stitch a heavy-duty elastic gusset or a matching leather wedge directly into the opening. This modification instantly provides five to eight millimeters of dynamic flex.
The boot expands smoothly as your midfoot slides through the turn, ending dorsal pinching for good.
Critical Mistakes That Ruin Leather Boots or Injure Your Feet
Trying to force a tight boot to stretch too quickly often ruins the hide or leads to physical injury. Avoid these common shortcuts.
The Dangerous Freezer Bag Trick
A popular internet trick recommends filling plastic water bags, placing them inside your boots, and freezing them overnight. Do not do this.
Water expands in every direction when it freezes. It applies uncontrolled outward force against the weakest joints of your boot.
This often splits welt stitching and weakens cemented glue lines. Worse, the expanding ice can crush the internal heel counter and collapse the toe structure. Condensation from melting ice also pools in the lasting board, rotting cellulose layers and fostering mold.
Pushing Past Nerve Impingement Paresthesia
Never assume an excruciating instep will break in naturally through pain. The top of your foot lacks thick muscle tissue to protect underlying nerves.
If you feel pins, needles, or a loss of feeling in your big toe, the boot is compressing your superficial or deep peroneal nerves. Continuing to wear boots in this state causes lasting nerve damage and joint inflammation. If lacing tweaks and insole swaps do not eliminate midfoot numbness immediately, take the boots off.
Frequently Asked Questions
Can boots be stretched across the instep if they have a waterproof membrane?
Synthetic waterproof membranes like Gore-Tex do not stretch. While the outer leather upper can stretch slightly, mechanical stretching risks puncturing or tearing the internal membrane sock. If your waterproof boots pinch your instep, focus on swapping to thinner insoles rather than using mechanical stretchers.
How long does it take for a tight instep to break in naturally?
Unlined leather uppers take two to four weeks of intermittent wear to break in. However, leather only stretches a millimeter or two from standard body heat and sweat. If the throat line causes direct pain or numbness, it will not resolve on its own without mechanical stretching.
Will stretching the instep cause my heel to slip in pull-on boots?
It can if you stretch the throat too wide. Pull-on boots rely on a snug fit over the instep to lock your heel against the back counter. Use targeted vamp riser plugs directly over the bony hotspot instead of stretching the entire midfoot cavity uniformly.
How do I know if my boot is too narrow versus having a low instep?
A width issue causes side-to-side pinching across the ball of your foot and pinky toe. An instep issue causes downward, vertical clamping across the bony top ridge of your foot. If your toes have plenty of wiggle room but your foot feels crushed from above, your instep volume is too low.

Similar Posts