How to Stop Blue Light Glasses Yellow Tint in Photos
Founder & Fashion Creative Director at Julia Fashionista · CFDA Fashion Scholar, Certified Image Consultant (AICI) · 12+ years in editorial wardrobe styling, sustainable textile sourcing, and luxury capsule curation
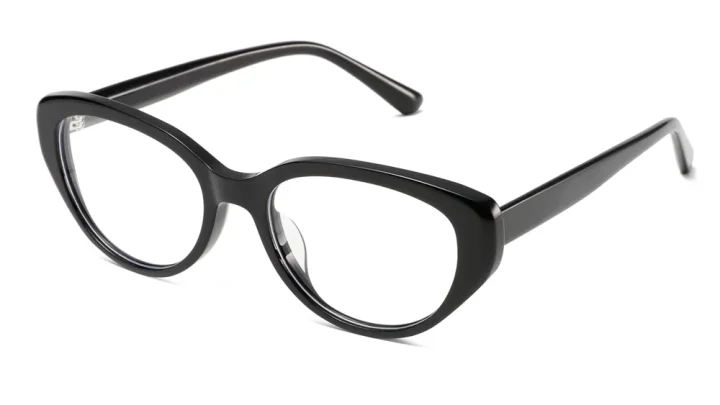
Nothing ruins a clean portrait faster than unexpected eyeglass flare. When shooting subjects wearing blue light glasses yellow tint reflection photos often turn out with bright purple glare spots or an unnatural sallow cast around the eyes. These optical artifacts hide the subject's natural eye color and create hours of frustrating digital correction.
The issue stems from two distinct optical properties: surface anti-reflective coating bounce and substrate dye absorption. Optical standards outlined by the American National Standards Institute under ANSI Z80.3 classify how these non-prescription filters treat incoming high-energy visible light. Understanding how these coatings behave allows you to control reflections before you even press the shutter.

Image source: Bing (Web (fair-use with source credit))
Quick Answer
Fixing blue light glasses yellow tint reflection photos requires moving your lights. Angle studio lights 45 degrees away from the camera axis. Lift the light stands higher than eye level.
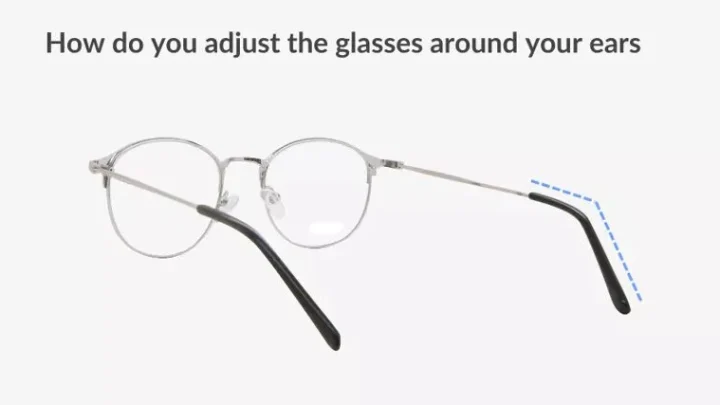
Tilt the glasses downward by raising the frame temples off the ears. These simple shifts bounce harsh glare away from the lens.
The Two Faces of Blue Light Glasses in Photos: Blue Glare vs. Yellow Tint
Blue-blocking eyewear produces two completely separate photographic problems. You must diagnose which issue you are facing before choosing a solution. One is a surface reflection issue, while the other is an internal filtration issue.
The Surface Problem: Why Lenses Flash Bright Blue
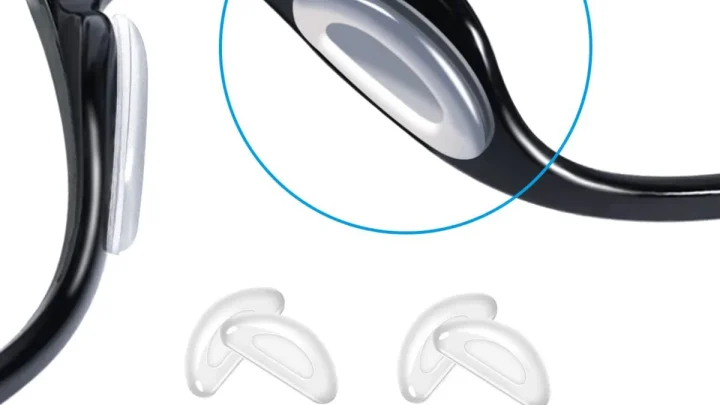
Most budget computer glasses use reflective dielectric coatings to bounce high-energy visible light away from the eye. In everyday indoor lighting, this coating looks clear. Under studio strobes or bright continuous lights, however, the coating reflects a concentrated spike of metallic purple or royal blue.
This surface glare creates a solid visual block across the pupil and iris. The camera records this reflected energy as a hot specular highlight, which completely blows out the blue color channel. When this happens, all underlying texture in the subject's eyes disappears.
The Core Problem: Why Your Skin Looks Yellow Behind the Glass
Higher-filtration blue light lenses rely on an amber or yellow dye mixed directly into the lens monomer. This pigment physically absorbs blue wavelengths between 400 and 455 nanometers rather than bouncing them off the surface.
Because the lens blocks incoming cool light, the skin inside the frame rim loses its natural balance. The periorbital skin around the eye socket takes on a heavy yellow or jaundiced tint. The rest of the subject's face looks perfectly normal, but their eyes look discolored and tired behind the lenses.
How Different Blue Light Lenses Behave Under Studio and Ambient Light
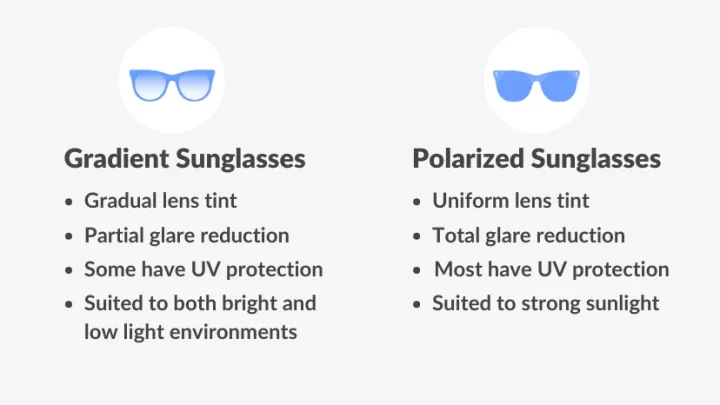
Different lens materials handle light in very different ways. Knowing what your subject has on their face lets you set up your lights correctly from the start.
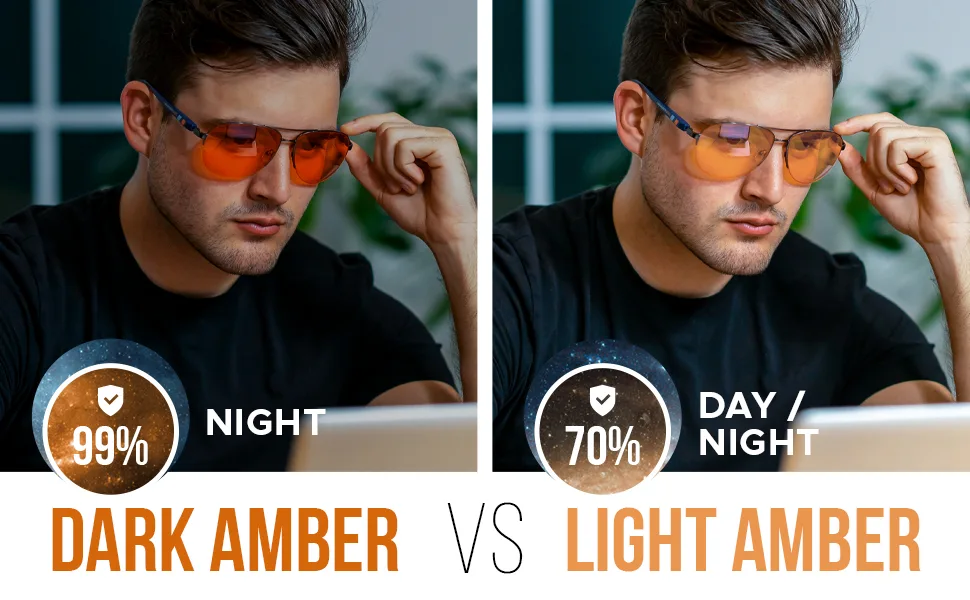
Image source: Bing (Web (fair-use with source credit))
Clear Blue-Reflective Lenses (Dielectric Surface Coating)
These lenses appear almost clear when held in the hand. They feature an anti-reflective coating tuned specifically to reject 10 to 20 percent of blue light. Under soft, diffused studio lights, they produce a bright cyan or violet flare across the front glass curve.
Pigmented Blue-Absorbing Lenses (Monomer Yellow Tint)
These lenses carry a noticeable amber, yellow, or light brown base tint. They do not produce as much bright blue flash because their surface anti-reflective treatment is usually broadband green. However, they create an immediate exposure and color shift.
The camera sensor captures an area behind the lens that is roughly one-third of a stop darker and noticeably warmer than the cheeks and forehead.
| Lens Property | Reflective Blue-Cut Lenses | Absorptive Pigmented Lenses |
|---|---|---|
| Primary Visual Flaw | Bright metallic blue surface flash | Sallow yellow skin cast behind frame |
| Optical Mechanism | Thin-film interference coating | Pigmented chemical substrate |
| Specular Highlight | Sharp, concentrated blue patch | Neutral or green edge highlight |
| Fix Strategy | Reposition lights off-axis | Adjust periorbital hue in editing |
| Camera Impact | Blown blue channel, lost iris detail | Uneven facial white balance |
Setting Up Your Lights: Using the Family of Angles to Kill Surface Glare
In photography, the law of reflection states that the angle of incidence equals the angle of reflection. When light strikes a flat or slightly curved surface, it bounces off at the exact same angle.
The range of angles where a light source reflects directly into your camera lens is called the family of angles. To eliminate glass glare, you simply position your light source outside this specific zone.
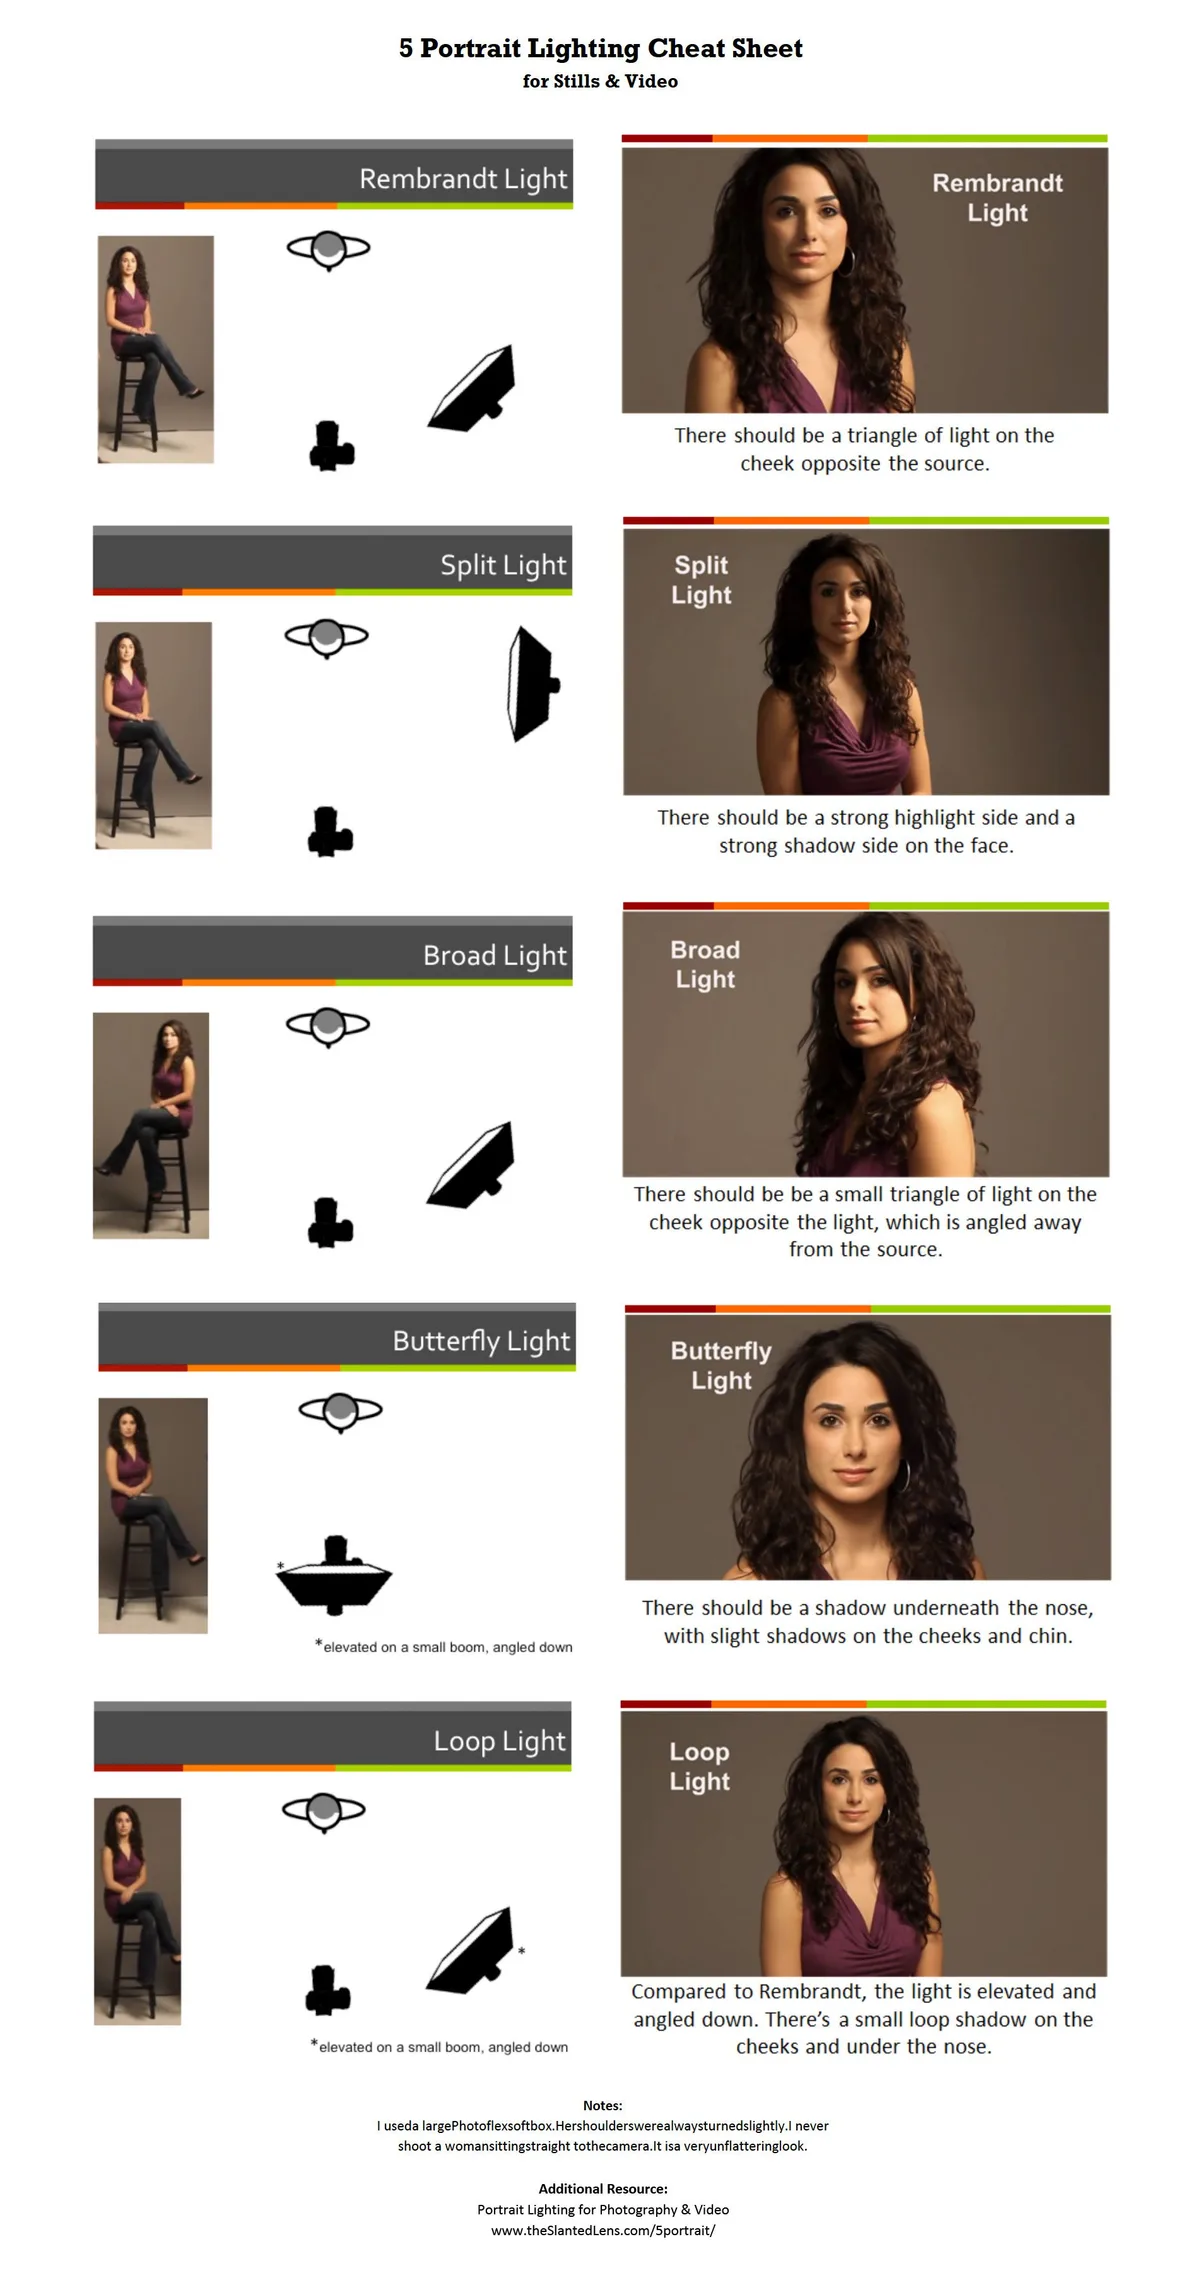
Image source: Bing (Web (fair-use with source credit))
The 45-Degree Rule for Key and Fill Lights
Place your key light roughly 45 degrees to the side of your subject. Never place it directly in front of their face.
Next, pull your fill light or reflector 45 degrees out on the opposite side. When light strikes the curved lens from the side, the surface reflection bounces away toward the studio walls. The camera captures only the clean, unreflected light hitting the subject's face.
Raising the Modifier to Push Reflections Out of Frame
Eyeglass lenses curve outward, creating a small convex mirror that catches light from multiple directions. Raising your light stands solves this problem quickly.
Position your softbox or umbrella roughly two to three feet higher than the subject's eye line. Angle the face of the modifier downward at a 45-degree angle. This pushes the reflected hot spots downward toward the subject's chest, leaving the eye area clean.
Why Ring Lights and Front-Facing Softboxes Always Fail
Ring lights sit directly on the camera lens axis. This places the light source squarely inside the family of angles.
When shooting blue-blocking lenses with a ring light, you get an unavoidable bright blue glowing halo centered directly over both pupils. On-camera speedlights cause the exact same issue. Always move your lights off the optical axis if your subject is wearing glasses.
Physical Tweaks: Quick Adjustments You Can Make on Camera
Sometimes you cannot move your lights, especially when working in tight offices or home studios. In these situations, tiny adjustments to the frames themselves can completely remove unwanted reflections.
The Temple Lift: Dropping the Pantoscopic Tilt
The simplest trick in portrait photography is the temple lift. Ask your subject to lift the ear stems of their glasses up a few millimeters off their ears.
Normal Frame Position:
[Eyeglass Lens: | ]  <--- Light bounces straight back into camera lens

Temple-Lift Position:
[Eyeglass Lens: / ]  <--- Light bounces downward toward the floor
This tilts the front of the lens downward toward the floor by three to five degrees. From the camera's perspective, the glasses still look perfectly straight on their face. That tiny downward tilt, however, bounces all overhead room light and high softbox reflections down toward the floor instead of back into your lens.
Micro-Turns and Chin Adjustments
If a faint sheen of blue light remains on one side of the frame, direct your subject's head position. Have them turn their face just two or three degrees away from the key light.
You can also ask them to bring their chin down slightly. This micro-movement shifts the plane of the eyeglass glass just enough to break the reflection angle. Watch your camera monitor closely while they move to spot the exact angle where the flare disappears.
Managing Computer Screen Glare on Video Calls
On video calls, monitor glow causes serious reflection problems. As of 2026, many workers use oversized desktop monitors that act like giant, glowing blue softboxes.
To clear up your webcam feed:
- Lower your monitor brightness down to 40 or 50 percent.
- Switch your applications and browser windows to dark mode.
- Raise your desk light above eye level and angle it downward.
- Push your chair back a few inches to reduce the monitor's reflection angle.
Fixing the Look in Post-Production: Photoshop and Lightroom Techniques
When careful lighting still leaves unwanted marks on your final image, you can fix the rest with targeted editing techniques.
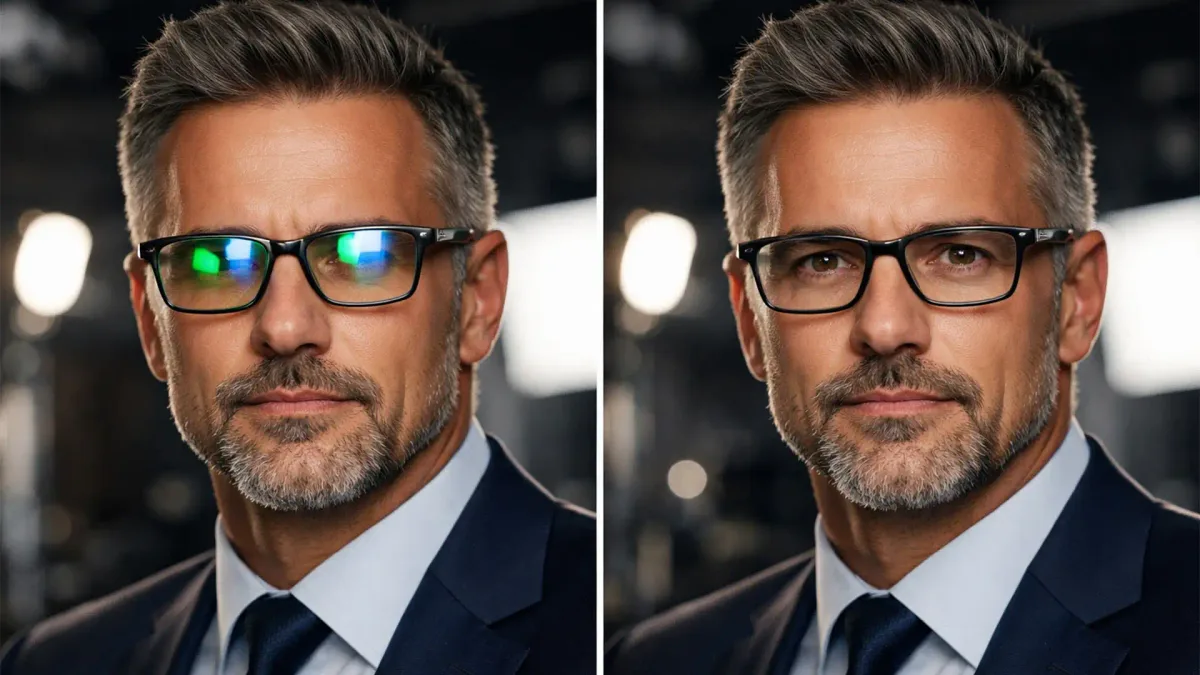
Image source: Bing (Web (fair-use with source credit))
Correcting the Sallow Yellow Cast on Periorbital Skin
To remove the yellow cast caused by absorptive lenses, use Adobe Photoshop to correct only the skin behind the frames:
- Open your image and create a new Hue/Saturation adjustment layer.
- Select the hand tool icon inside the panel and click directly on the yellowed eye socket skin.
- Shift the Hue slider slightly toward the right (toward magenta/red) to match the surrounding cheek tone.
- Lower the Saturation slider by 5 to 15 points to strip out the excess yellow warmth.
- Invert the layer mask to solid black using Command+I (or Ctrl+I on Windows).
- Use a soft white brush set to 20 percent opacity to gently paint over the yellowed eye areas until the skin tones match.
Removing the Metallic Blue Flare Over the Eyes
Metallic blue reflections require a different editing approach because they blow out the cool color channels:
- Add a blank layer above your photo and set its blend mode to Color.
- Select the Eyedropper tool and sample the natural color of the subject's iris or eyelid right next to the glare.
- Paint directly over the blue sheen with a soft brush to neutralize the electric violet tone into a natural skin or eye color.
- Add a Curves adjustment layer clipped to that area.
- Pull the midpoint down to restore contrast and depth where the reflection washed out the underlying details.
The Two-Shot Eyeglass Composite Method
For important portraits, the two-shot method is the cleanest workflow available. Mount your camera on a steady tripod to keep your framing locked in place.
Take your first exposure with the subject wearing their glasses naturally. Without moving the camera or changing any lighting settings, have the subject carefully remove their glasses and hold the exact same pose for a second shot. In Photoshop, stack both images as layers with the glasses frame on top.
Add a layer mask and paint the clean, reflection-free eyes from the second frame directly into the eyeglass openings of the first frame.
Mistakes to Avoid When Photographing Eyeglasses
Minor studio oversights can turn a quick portrait shoot into an editing nightmare. Avoiding a few common workflow errors saves considerable time during post-production.
Relying on Auto White Balance
Auto White Balance (AWB) misreads the mixed color temperatures caused by protective coatings. When your camera sensor sees the warm yellow tint behind the lenses, it tries to balance the frame by adding blue and magenta across the entire image.
This leaves your subject with unnatural, gray skin on their cheeks and neck. Lock your white balance manually using a standard neutral gray card under your key light. This keeps global skin tones consistent and isolates color shifts strictly to the area behind the glass.
Pointing Continuous Diffusers Straight at the Face
Broad light sources placed directly in front of your subject guarantee heavy surface reflections. Even large 48-inch octaboxes cause problems if they face the front glass surface dead-on.
Always feather your modifiers by turning them slightly outward toward the background walls. Feathering uses the soft edge of the beam to illuminate the subject's face while sending the specular reflection safely away from the camera sensor.
Forgetting to Clean the Lens Surfaces
Dust specks and skin oils magnify lens flare across optical surfaces. Microscopic grease marks catch side lighting and produce a broad, hazy smudge across the frame.
Always carry a clean microfiber cloth and dedicated lens spray on your shoot. Inspect both the front and rear of the lenses under modeling lights before taking your first test shot.
Frequently Asked Questions About Eyewear Glare in Photography
Can a polarizing filter remove blue reflections from glasses?
A circular polarizing filter (CPL) helps reduce glare from flat glass, but it cannot completely remove blue light reflections. Eyeglass lenses feature curved front surfaces with dielectric coatings, meaning light reflects at multiple simultaneous angles. A CPL reduces reflections in only one specific axis, often leaving strange, uneven patches of purple hue.
Why do blue light glasses show purple reflections in photos?
Purple reflections appear because the lens coating targets violet and high-energy blue wavelengths between 380 and 450 nanometers. When standard studio flashes strike this selective anti-reflective coating, those specific wavelengths bounce back toward the camera as an intense violet-blue flare while the other colors pass through.
How do I stop glasses from turning yellow in pictures?
To stop glasses from looking yellow, switch to clear lenses with broadband green anti-reflective coatings rather than pigment-infused lenses. If the subject must wear their tinted lenses, shoot a reference image with the glasses off. This gives you a clear color target to balance skin tones in post-processing.
Can you completely remove eyeglass glare in Lightroom?
Lightroom can soften minor reflections using the Adjustment Brush with decreased saturation on blue channels and boosted local exposure. However, if the glare completely washes out the pupil and iris, Lightroom cannot rebuild the missing eye texture. You will need to move into Photoshop to rebuild or composite the eye details.
Why do ring lights cause blue circles on glasses?
Ring lights cause round reflections because the light source sits directly around the camera lens axis. This places the light modifier straight inside the optical family of angles. The curved glass surface reflects the entire circular ring directly into the camera sensor, completely obscuring the subject's pupils.

Similar Posts