Why Your Layered Necklace Spacer Clasp Still Tangles
Founder & Fashion Creative Director at Julia Fashionista · CFDA Fashion Scholar, Certified Image Consultant (AICI) · 12+ years in editorial wardrobe styling, sustainable textile sourcing, and luxury capsule curation
You clip on a multi-strand detangler, step out the door, and check the mirror an hour later only to find your necklaces twisted into a chaotic knot. It is completely normal to feel annoyed when a tool designed to solve a problem seems to fail. Dealing with layered necklace spacer clasp tangling usually means the hardware is fighting the natural physics of your chains.
A spacer clasp holds the ends apart, but gravity, friction, and daily movement control the rest of your chest. According to technical standards from the Manufacturing Jewelers & Suppliers of America, chain tension and balance dictate how links hang against curved surfaces. Once you fix a few subtle mechanical mismatches, your layers will stay neat and separate all day.
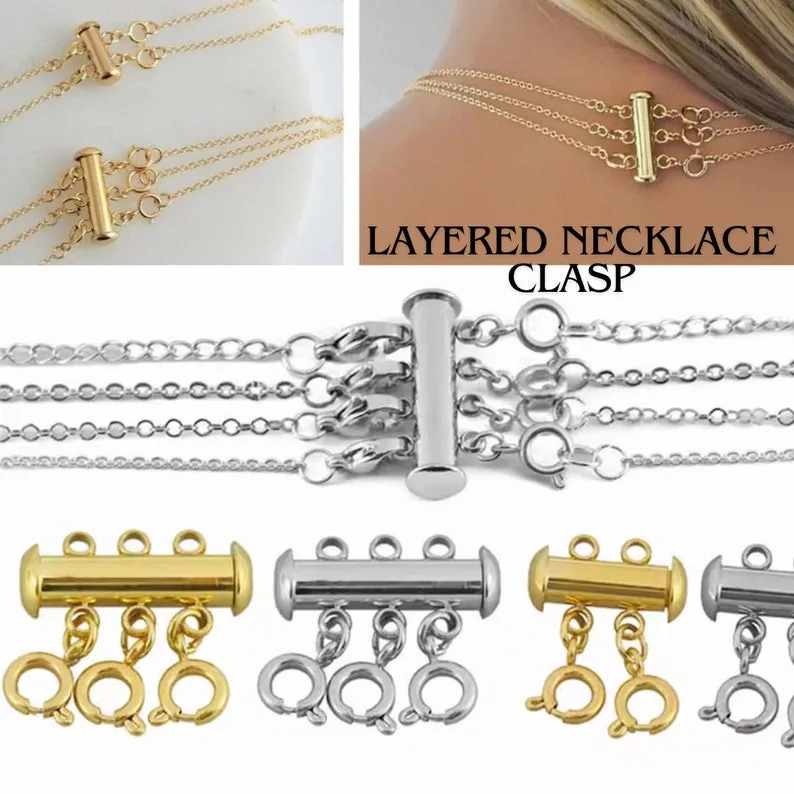
Image source: Bing (Web (fair-use with source credit))
Quick Answer
A spacer clasp cannot prevent tangling if chains share identical lengths. Unequal chain weights also cause friction. Two strands must hang at different drop points to stay separate.
Adding a heavier pendant to the lowest chain stabilizes the stack. Mixing thick and thin chain weaves stops them from wrapping together.
Why Layered Necklaces Still Tangle with a Spacer Clasp
A spacer clasp fixes necklace ends behind your neck, but it does nothing to stop movement along your collarbone. Each step you take sends kinetic energy through the metal. Lightweight chains bounce, shift sideways, and cling to textured fabric.
When two necklaces share the exact same gauge, their links snag on one another. The chains act like gears. As one moves left, it drags the other strand along with it.
Within minutes, the pair braids into a single cord.
The clasp itself can also flip upside down. If the top chain pulls harder than the bottom chain, the slide bar rolls over. Once the hardware inverts, your strands cross directly at the nape.
The Three Mechanical Rules for Tangle-Free Stacking
Stopping chain twists requires following basic rules of tension, length, and weight. When these three factors align, gravity does the hard work for you.
- Maintain vertical spacing: Keep at least 1.5 to 2 inches of drop distance between each chain. This gap stops links from bumping into each other as you walk.
- Follow the weight gradient: Your heaviest chain or pendant must sit on the bottom loop. The top chain near your throat must always be the lightest strand.
- Anchor the lowest point: A center charm pulls the bottom loop taut. This anchor point creates a stable V-shape that catches upper chains before they spin.
Here is how to stage your stack for ideal balance:
| Layer Position | Recommended Chain Length | Target Mass / Weight | Ideal Chain Type |
|---|---|---|---|
| Top (Tier 1) | 14 to 16 inches | Ultra-light (1 to 2 grams) | 1.0mm fine cable or box chain |
| Middle (Tier 2) | 18 inches | Medium (3 to 5 grams) | 1.5mm curb, paperclip, or figaro |
| Bottom (Tier 3) | 20 to 22 inches | Heavy anchor (6+ grams with charm) | 2.0mm+ rope, coin pendant, or heavy link |
Diagnostic Workflow: Pinpointing Why Your Setup Is Twisting
If your necklaces keep turning into a nest, use this troubleshooting flow to find the culprit:
- If the clasp rolls over your shoulder: Your chains lack balanced weight. The bottom strand needs a heavier pendant to pull the clasp flush against your neck.
- If strands braid together on your chest: Your chain drops are too close. Add an extender link to the lower necklace to create a 2-inch separation.
- If the chains wind into a tight helix: You have paired two identical, high-friction weaves. Swap one out for a flat or smooth chain.
- If the clasp slides to the front: The hardware is too light for your garment. Your shirt fabric is grabbing the chains and dragging the clasp forward.
How to Assemble and Attach Your Spacer Clasp Correctly
Connecting your chains in the right sequence keeps the slide tube stable from the start. Lay all pieces flat on a table before attempting to clasp anything around your neck.
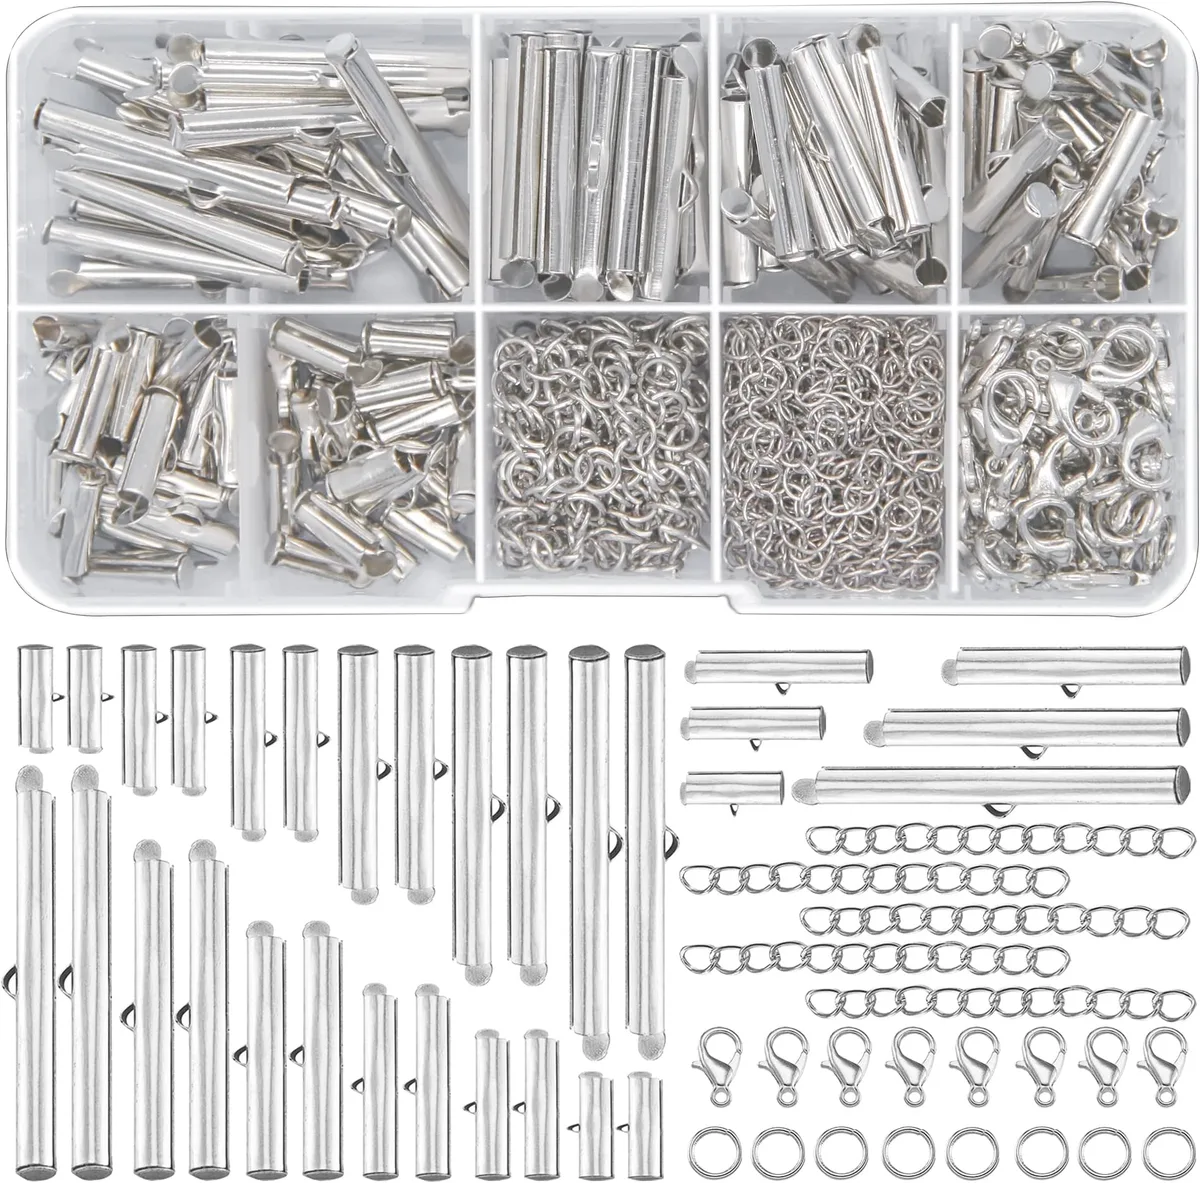
Image source: Bing (Web (fair-use with source credit))
First, open the multi-strand slide clasp by pulling the two halves apart. Place the side with open spring rings on your dominant-hand side. Attach your shortest chain to the top ring.
Connect the matching end to the corresponding top loop on the opposite tube.
Next, attach your middle chain to the center loops. Finish by clipping your longest, heaviest necklace to the bottom loops. Double-check that none of the chains are twisted before sliding the tubes together.
Position the connected clasp flat against your C7 vertebra at the base of your neck.
Matching Chain Weaves and Textures to Stop the Rope Effect
Certain chain types naturally catch on delicate links. A flat herringbone chain looks great, but its rigid edge easily snags open cable links.
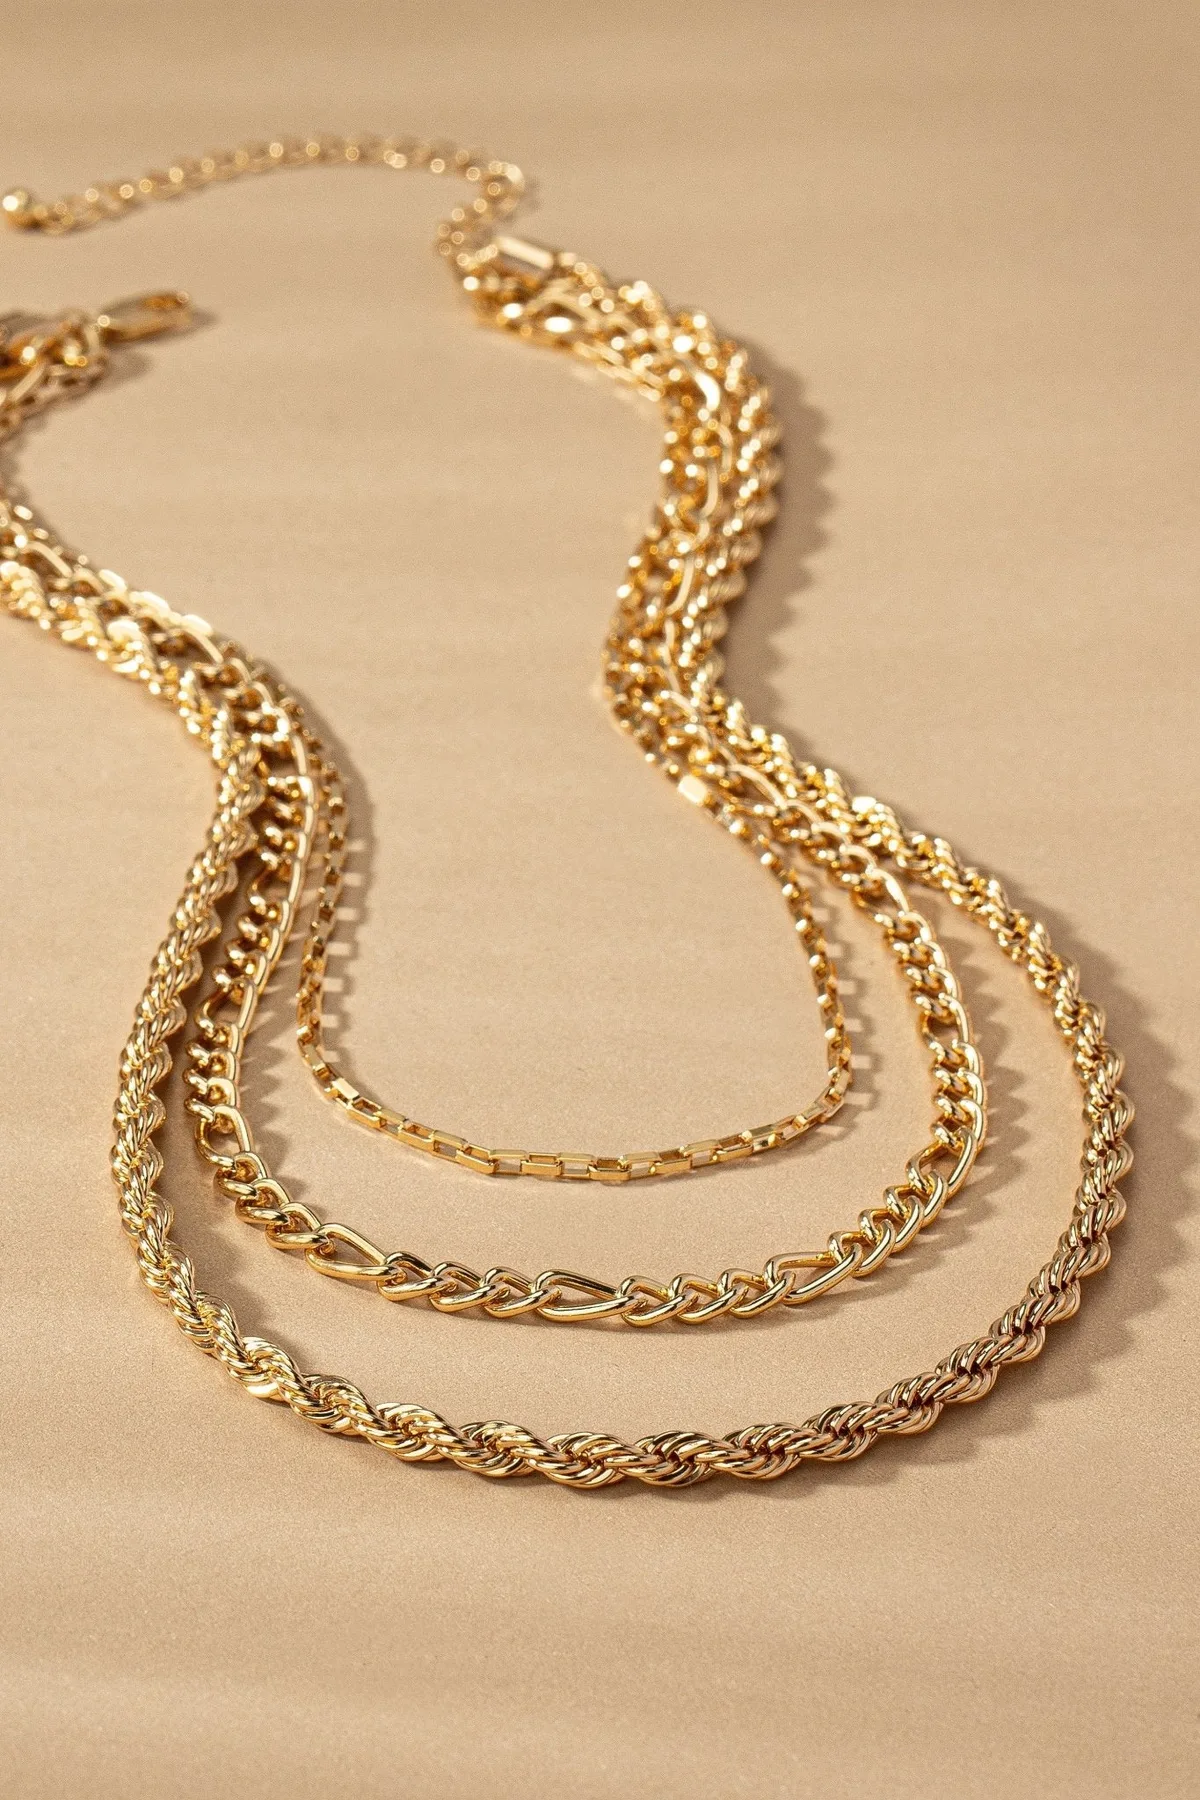
Image source: Bing (Web (fair-use with source credit))
Pair fluid chains with structured links to prevent binding. A smooth snake chain slides cleanly over an open paperclip link without catching. Box chains feature smooth, flat faces that glide past round curb links.
Never pair two identical thin rope chains. Their twisted helical surfaces lock together like Velcro. As of 2026, pairing contrasting chain weights remains the standard jeweler technique for preventing everyday link friction.
Combine smooth textures with airy link styles to keep each strand swinging freely.
Choosing the Right Hardware: Slide Tubes vs. Magnetic Detanglers
The mechanical style of your clasp directly affects how well it resists rolling and tangling. Most multi-strand connectors fall into two categories: mechanical slide tubes and magnetic multi-connectors. Choosing between them comes down to your chain weights and dexterity needs.
Slide-tube clasps use a tongue-and-groove track that locks two metal bars together. This rigid connection stops the hardware from rotating against your skin. They hold heavier necklaces easily without pulling apart under tension.
The drawback is that they require steady hands to slide and click into position behind your head.
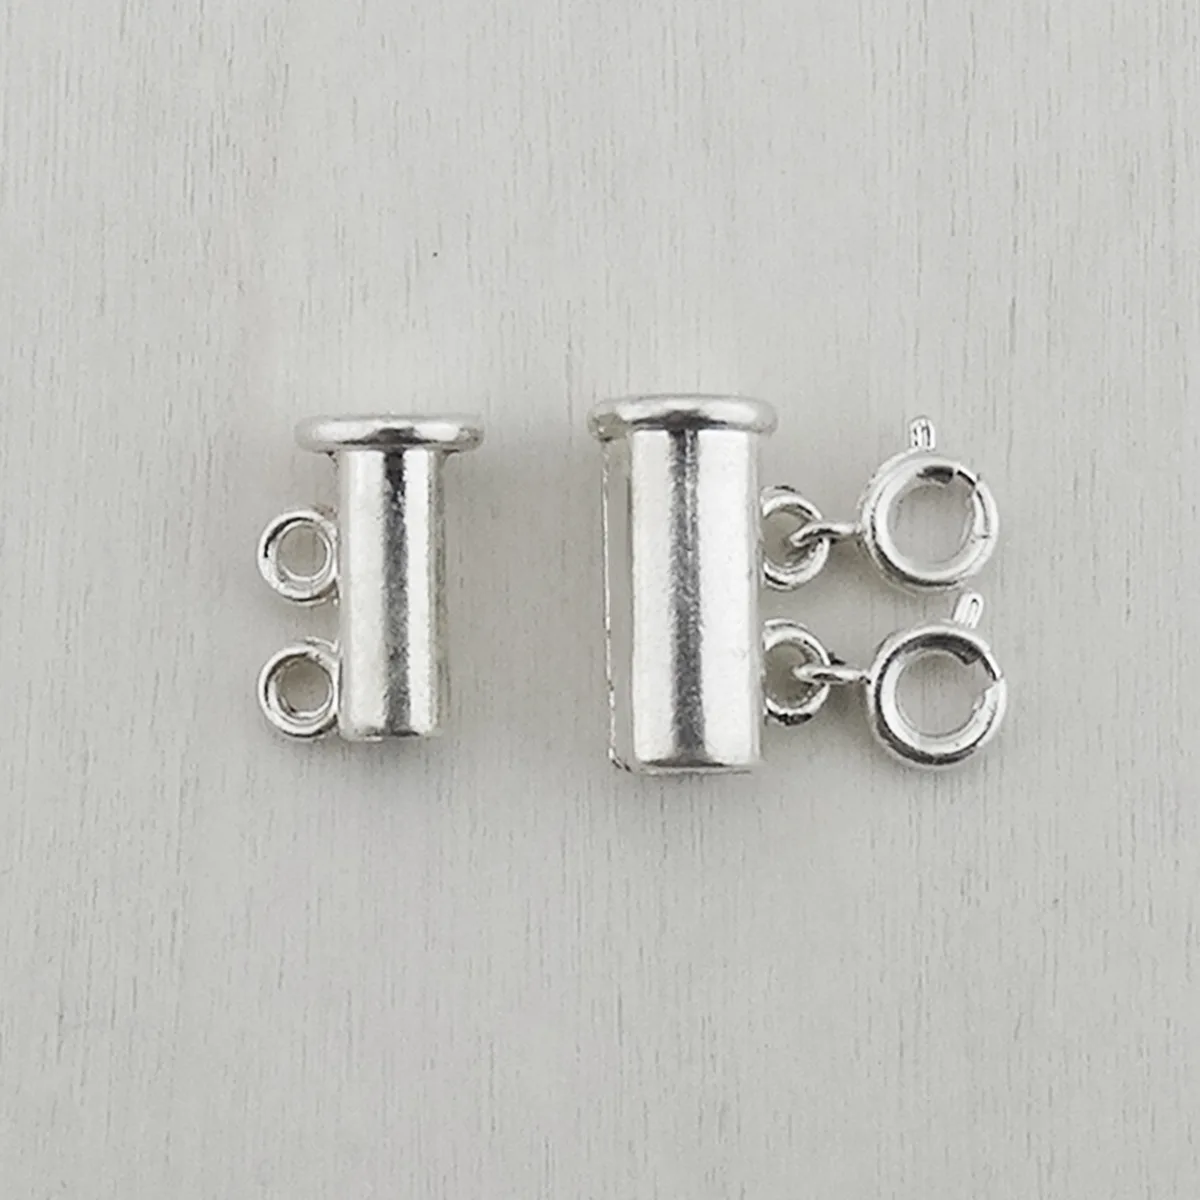
Image source: Bing (Web (fair-use with source credit))
Magnetic connectors snap together using rare-earth neodymium cores. They are fantastic for anyone with limited grip strength or mobility issues. However, if your chains are heavy, the magnetic pull can give way when you bend forward.
For lightweight chains up to three strands, magnetic barrels work smoothly. For four or more strands, or setups featuring solid pendants, slide tubes provide much better security.
Troubleshooting Common Layering Mistakes and Migrations
Small adjustments to how your necklaces sit can fix stubborn twists. Here are four regular styling issues and the quick mechanical corrections for each:
- Hair wrapping into the clasp: The exposed spring rings on cheaper findings catch fine strands easily. Wrap a small silicone clasp-cover around the hardware, or look for clasps with internal solder rings to eliminate hair snags.
- Clasp sliding down toward your collarbone: This migration happens when your chains are too light to anchor the metal bar behind your neck. Add a 2-inch extender chain with a solid metal drop-tag to the center of the clasp to act as a counterweight.
- Chains bunching inside deep necklines: V-neck shirts funnel chains toward the center. Match your necklace drop lengths to your collar cut. A deep V requires wider spacing intervals, such as a 3-inch gap between tiers, to avoid sternum bunching.
- The slide bar pulling diagonally: This slant happens when you mix an ultralight chain on one side with a thick link on the other. Always mirror your tension by centering charms and pendants directly in the middle of each strand.
Frequently Asked Questions About Necklace Spacers
Can you use a spacer clasp for only two necklaces?
Yes, two-strand spacer clasps are built specifically for pairing two chains. Avoid using a three-strand clasp for two necklaces. Leaving the center loop empty creates uneven weight distribution.
That missing balance causes the metal bar to flip over constantly against your skin.
Why does my spacer clasp keep flipping upside down?
A spacer clasp flips when the upper chain carries more tension than the lower chain. The top necklace pulls the upper ring forward, rotating the clasp bar. Fix this issue by attaching a heavier pendant or a thicker chain to the lowest loop to keep the bar vertical.
Do magnetic necklace detanglers come apart easily?
Quality magnetic detanglers with high-grade neodymium magnets hold everyday chain setups securely. However, sudden snagging on clothing can pull them apart. If you wear chunky chains, heavy stone pendants, or thick sweaters, choose a mechanical slide tube clasp instead.
What is the best distance between layered chains?
The ideal spacing distance is 1.5 to 2 inches between each tier. This vertical drop gives each necklace room to move freely during normal movement. Spacing chains less than an inch apart almost always leads to twisted strands, even when using a spacer clasp.
Can I leave my necklaces permanently attached to the clasp?
Yes, leaving your chains attached saves time and keeps the spacing organized. Lay the entire connected set flat in a jewelry tray or hang it vertically on a stand when storing. Balling up the connected chains inside a jewelry box will cause severe knots around the hardware.

Similar Posts