Threader Earrings Falling Out? How to Keep Them In
Founder & Fashion Creative Director at Julia Fashionista · CFDA Fashion Scholar, Certified Image Consultant (AICI) · 12+ years in editorial wardrobe styling, sustainable textile sourcing, and luxury capsule curation
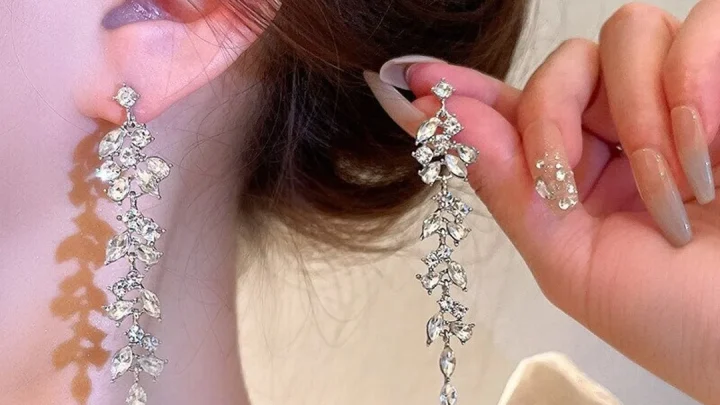
Few things ruin a day quite like reaching up to touch your ear and finding empty space. When you notice your threader earrings falling out of ear piercings, the culprit is almost always physics rather than bad luck. These sleek, minimalist chains look stunning, but their lack of a rigid back makes them prone to creeping forward, catching on fabric, or sliding out entirely.
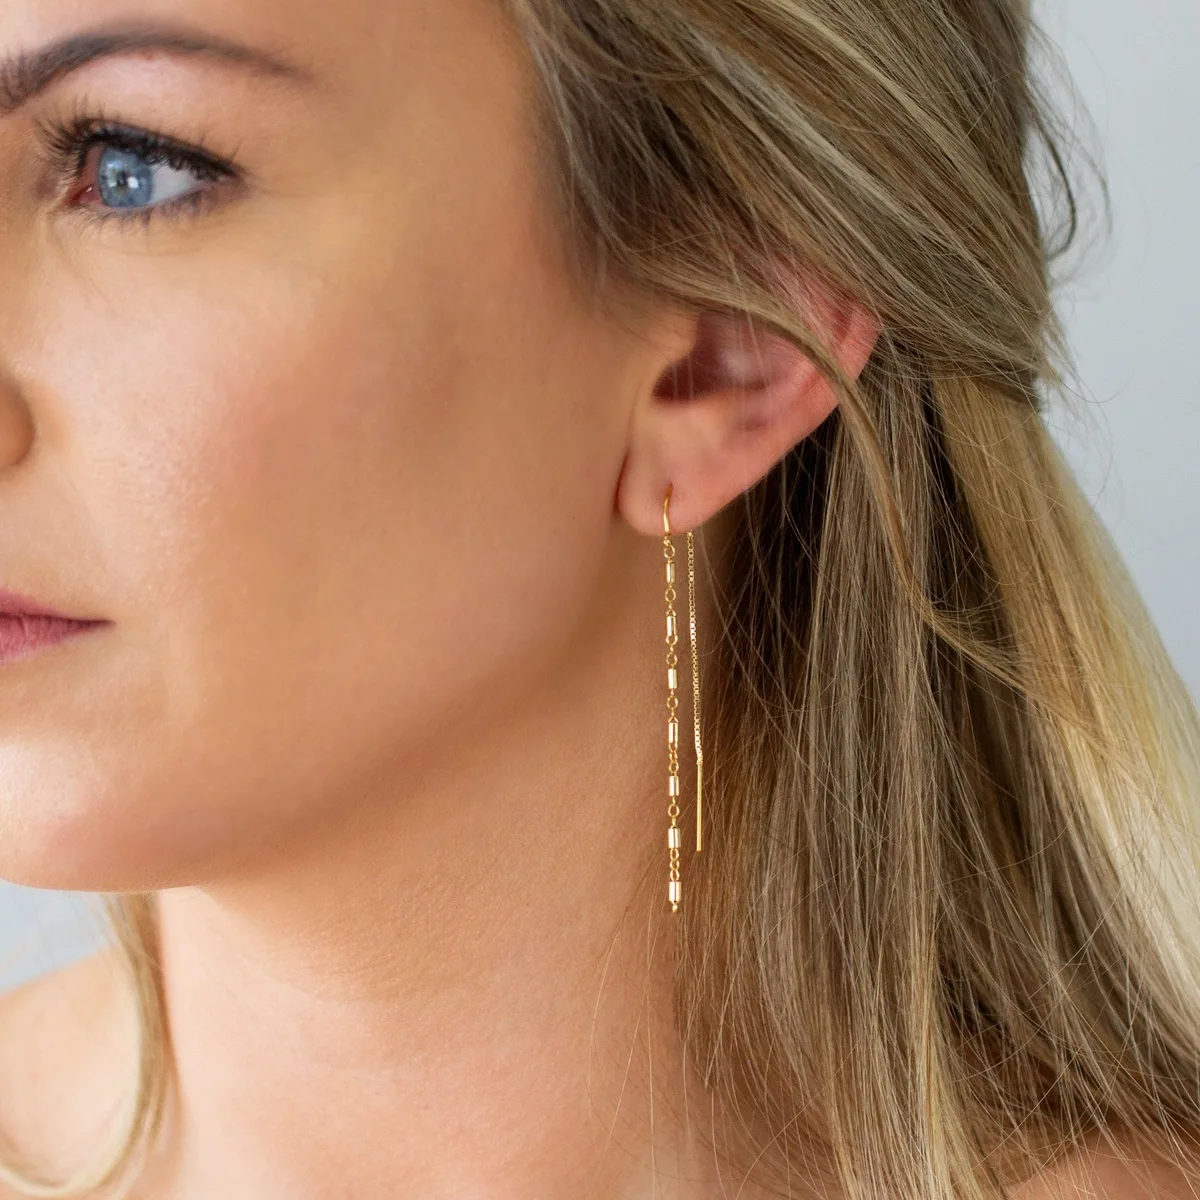
Image source: Bing (Web (fair-use with source credit))
Standard ear piercings generally sit between 18-gauge and 20-gauge (roughly 0.8 mm to 1.0 mm wide), while threader chains often measure just 0.6 mm across. Because the chain is narrower than the piercing fistula, it slides with zero natural resistance unless you anchor it properly. You do not have to stop wearing pull-through earrings, you just need a better mechanical hold.
Quick Answer
To stop threader earrings falling out of your ear, add a micro-silicone stopper behind the lobe. Keep the front and back chain drops equal in length. Clean your earlobes to remove skin oils that destroy chain friction.
Weave the chain across two piercings for built-in security. Never use rigid metal butterfly backs on delicate chains.
Why Threader Earrings Keep Slipping Out of Your Ears
Threader earrings stay in place through friction and counterweight. Unlike post studs or latch hoops, ear threads rely on gravity and the contact patch between fine metal links and your skin. When friction drops or the balance shifts, the chain moves.
The problem usually starts with asymmetry. Many threader styles feature a decorative charm, bar, or gemstone at the front end, while the rear holds only a simple insertion pin. That charm creates a constant downward pull.
Every time you turn your head, step down stairs, or laugh, that weight tugs the chain forward through the piercing hole.
Movement accelerates the slide. As of 2026, lightweight box and curb chains remain the standard for delicate jewelry, but their polished outer links offer almost no grip against skin. Without a physical barrier to block the chain, ordinary movement works the entire piece loose until it hits the floor.
The 4 Underlying Causes of Ear Thread Slippage
Understanding why your jewelry moves helps you pick the right solution. Ear threads do not fail at random. Instead, they react to a handful of daily mechanical forces.
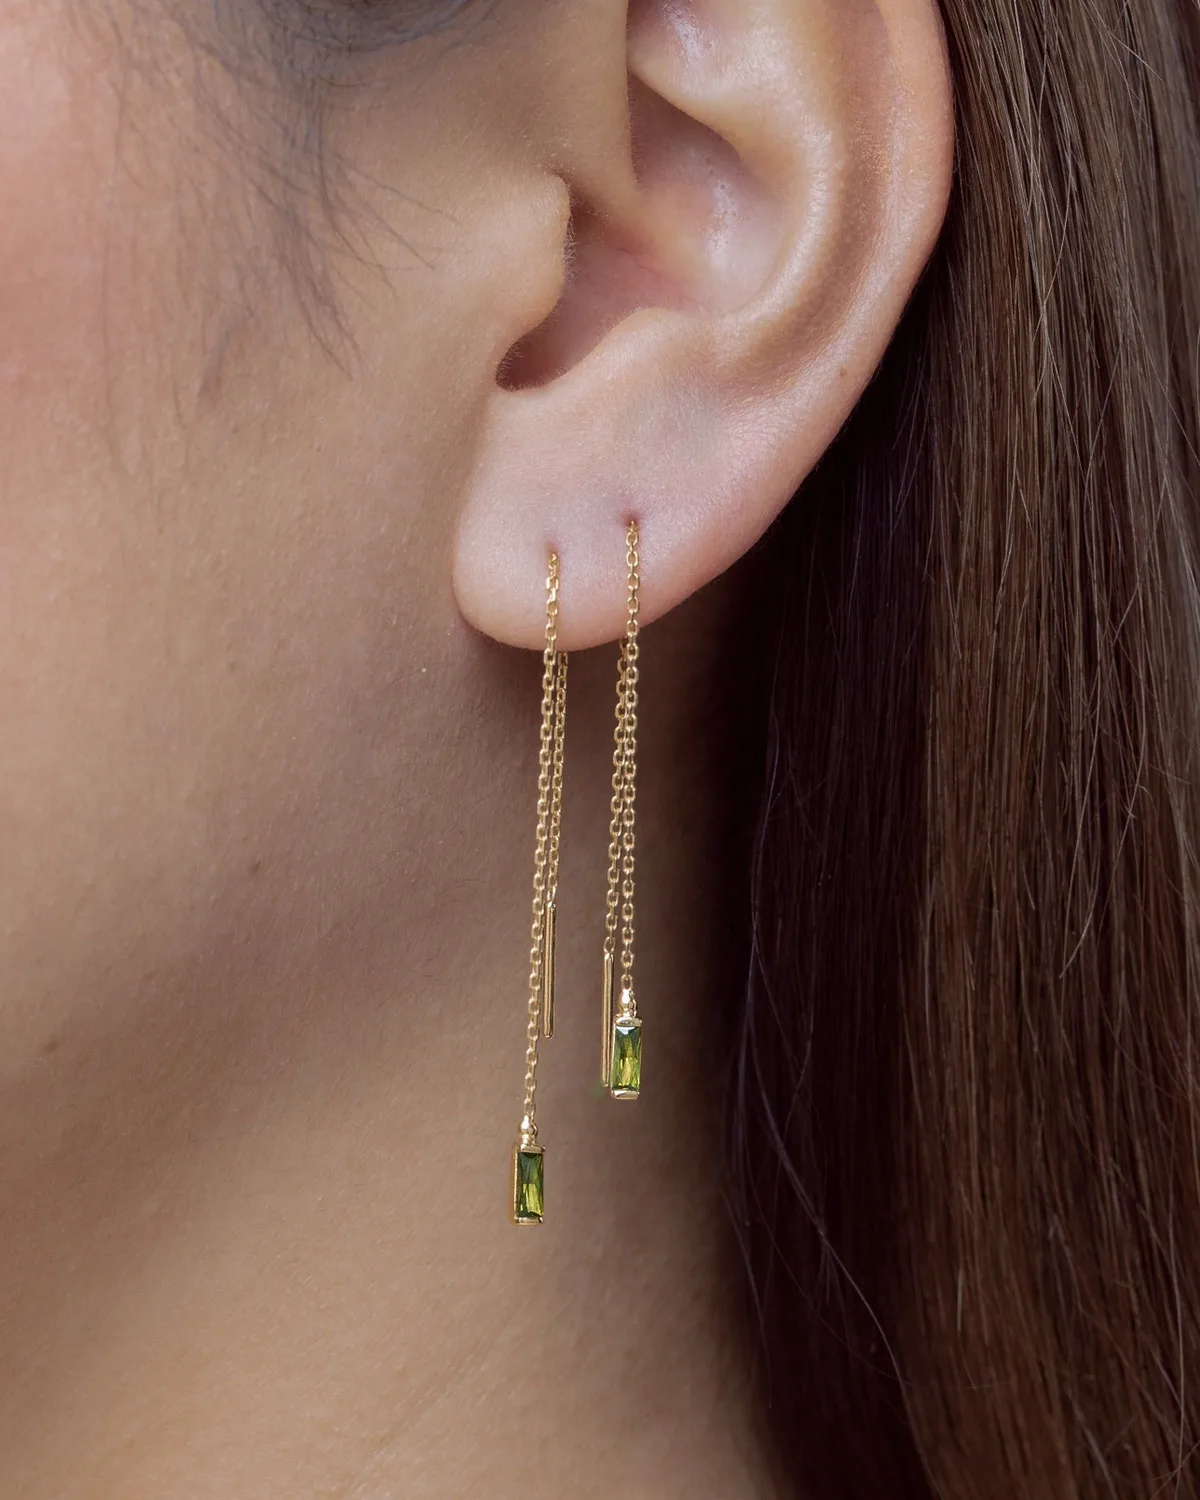
Image source: Bing (Web (fair-use with source credit))
Weight Distribution and Gravity Imbalances
A heavier front end will always drag a light chain downward. If your front drop carries a bezel-set crystal and the back drop is bare chain, gravity favors the front. The chain crawls forward link by link until the tail clears your earlobe.
Skin Sebum and Vanishing Chain Friction
Natural body oils, leave-in hair conditioners, and facial moisturizers collect on the earlobe. These liquids act as lubricants inside the piercing channel. A lubricated metal chain glides through skin tissue with virtually zero mechanical drag, turning minor head tilts into drops.
Piercing Fistula Size vs. Chain Gauge
The interior tunnel of an ear piercing is called a fistula. According to standard jewelry metrics from the Association of Professional Piercers, healed initial lobe piercings typically rest between 18-gauge and 20-gauge. Threader chains, however, often measure 0.6 mm, which corresponds to roughly 22-gauge.
This leaves empty clearance inside the hole, giving the chain room to slide freely back and forth.
Mechanical Snags on Daily Clothing and Hair
Loose chains catch easily on external fibers. High-collar knitwear, wool scarves, winter beanies, and long hair strands act like fishhooks against fine metal links. A single brushing motion from a scarf can yank a threader straight out without you feeling it happen.
Diagnostic Workflow: How to Identify Your Slippage Trigger
Fixing the issue starts by isolating what causes your specific earring to slip. Use this quick troubleshooting guide to diagnose the failure point:
                  Does the earring have a heavy front charm?
                               /          \
                             YES           NO
                             /              \
                [Front Weight Bias]     Does it slip when wearing
                Solution: Stopper or     scarves, knits, or masks?
                Rear Balance Drop                  /          \
                                                 YES           NO
                                                 /              \
                                     [Mechanical Snag]     Does it slide during
                                     Solution: Tuck or      normal daily wear?
                                     Adjust Drop Length            /          \
                                                                 YES           NO
                                                                 /              \
                                                    [Low Friction/Lobe Bore]  [Stable]
                                                    Solution: Micro-stopper
- If the earring falls forward within an hour: The front charm is too heavy. You need a rear friction lock or a shorter front drop.
- If the earring vanishes after pulling off a sweater or coat: Mechanical friction caught the tail. You need to adjust drop height or shield the back with a backer.
- If the earring gradually drifts sideways throughout the day: The skin channel is slick or stretched. You need to clean the skin and add a silicone clutch.
- If you have two adjacent lobe holes: You can bypass stoppers entirely by looping the chain across both holes to create natural tension.
The Fix: Step-by-Step Security Techniques for Every Style
Once you identify why your earrings slide, you can stop the movement with a few practical techniques. These methods secure your jewelry without spoiling its clean appearance.
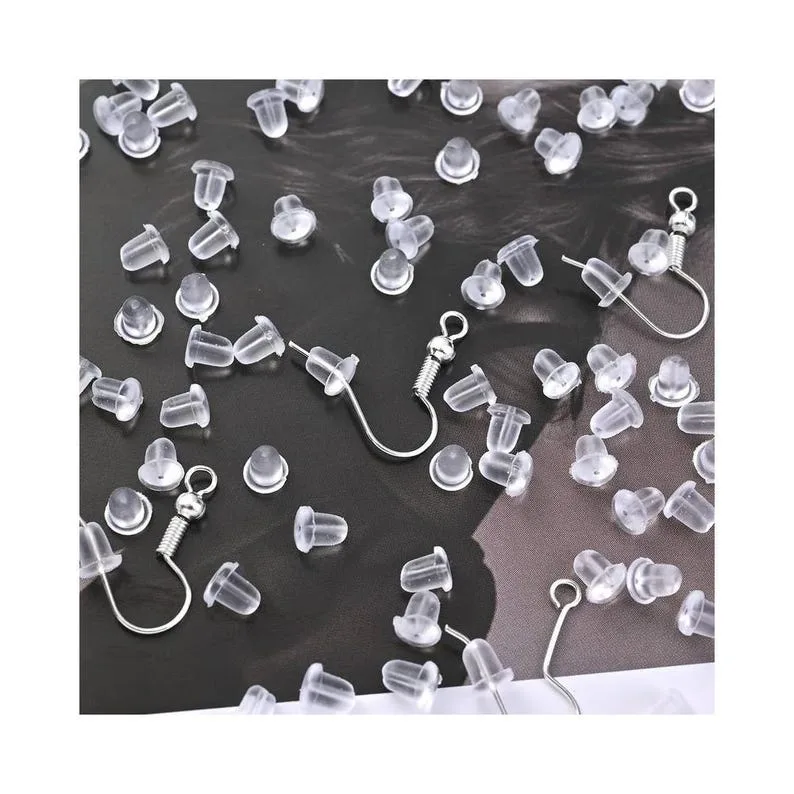
Image source: Bing (Web (fair-use with source credit))
Method 1: The Micro-Silicone Stopper Fix (Single Piercings)
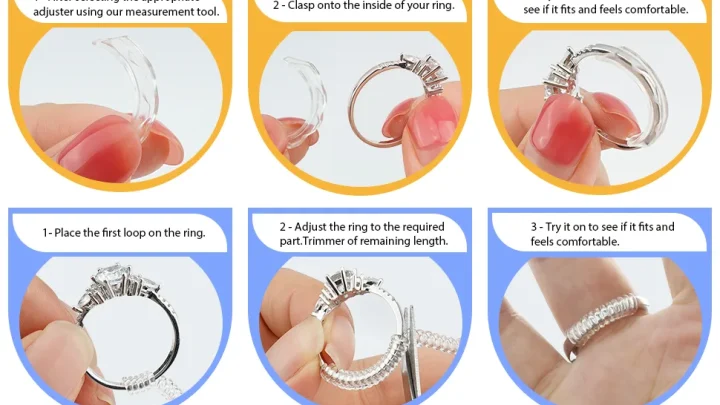
This is the most reliable way to secure a threader. It uses a tiny, clear silicone earnut placed flush against the back of the lobe.
- Thread the solid insertion pin through your lobe until the chain reaches your preferred front drop length.
- Hold the chain firmly at the front of the earlobe so it does not shift.
- Take a micro-silicone stopper with a 0.5 mm inner hole. Slide the insertion post directly into the stopper hole.
- Glide the silicone stopper up the chain until it rests gently against the skin at the back of your lobe.
- Do not crush the lobe. Leave a millimeter of breathing space so the chain hangs naturally without pinching.
Method 2: The Multi-Piercing Interlocking Weave
If you have two or three holes in one lobe, you can weave the chain to lock it in place. The skin between the holes provides natural tension, so you rarely need extra hardware.
- Thread the pin through your first (lowest) piercing from front to back.
- Bring the pin forward, underneath the lobe, or over the edge.
- Insert the pin from front to back through your second piercing hole.
- Pull gently until you have an attractive swag or drape between the two piercings.
- The dual directional pull stops the chain from sliding in either direction.
Method 3: Adjusting the Gravity Drop Ratio
When wearing a plain, unadorned chain threader, you can use gravity as your anchor.
- Stand before a mirror and pull the pin through your lobe.
- Instead of centering the chain at a 50/50 balance, pull the back tail lower so that 60 percent of the chain hangs behind the ear.
- The heavier rear tail acts as a counterweight against forward drift.
- Check that the front drop still looks balanced with your face shape while maintaining that rear bias.
Method 4: Fine-Tuning the U-Bar Ear Saddle
Many commercial threaders include a solid, pre-curved wire section in the middle of the chain. This U-bar is designed to sit directly inside the piercing channel.
- Thread the chain until the curved U-bar rests inside the lobe fistula.
- Check if the U-bar rocks back and forth. If it does, the curve may be too wide for your lobe thickness.
- Remove the earring completely from your ear.
- Using your fingertips, apply light pressure to gently pinch the U-shape slightly narrower.
- Reinsert the earring. The narrower curve will sit flat inside your piercing without rocking forward or backward.
Hardware Comparison: The Best Tools to Secure Chain Earrings
Not every earring back works safely with delicate chain links. Using the wrong clutch can bend the metal or snap the solder joints entirely.
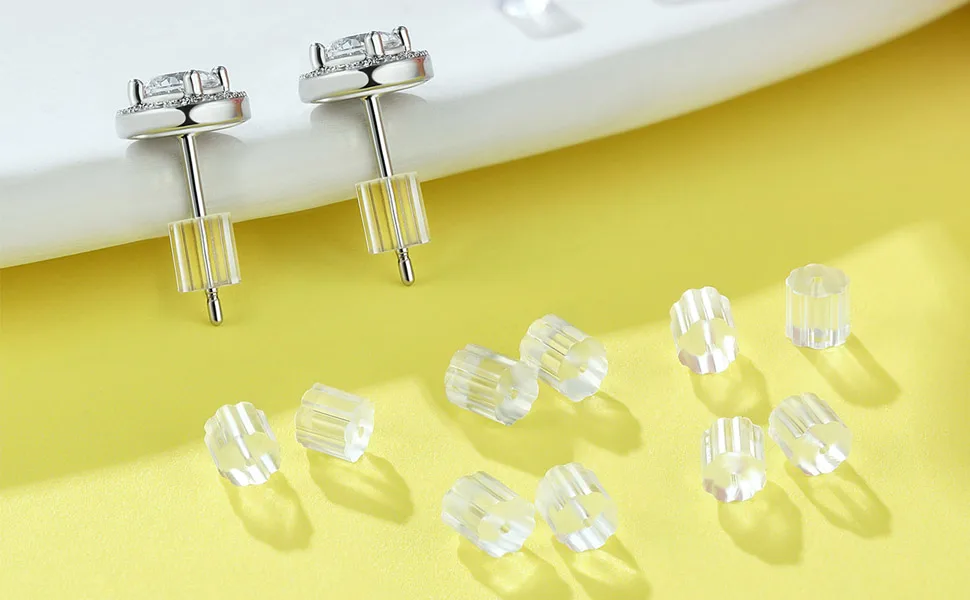
Image source: Bing (Web (fair-use with source credit))
Standard metal butterfly backs are built with rigid internal curls meant to clamp onto grooved posts. When forced over a 0.6 mm box or cable chain, those metal edges bite directly into the hollow links, causing permanent kinks. Micro-silicone backers, on the other hand, grip through elastic compression.
They hold the chain firmly without applying cutting pressure to the precious metal.
| Hardware Type | Grip Mechanism | Chain Damage Risk | Visual Invisibility | Best Used For |
|---|---|---|---|---|
| Micro-Silicone Stopper (0.5 mm hole) | Elastic surface tension | Very Low | High (Transparent) | Single piercings, charm-heavy styles |
| Bell-Shaped Silicone Clutch | Tapered friction grab | Very Low | Moderate (Slightly larger profile) | Thicker chain gauges (0.8 mm+) |
| Traditional Metal Butterfly Back | Rigid mechanical clamping | Extremely High (Crushes links) | Poor (Bulky metal profile) | Standard post studs only (Avoid on chains) |
| Multi-Hole Interlock (No hardware) | Dual directional skin friction | None | Maximum (Clean jewelry look) | Double or triple lobe piercings |
When shopping for stoppers, look for medical-grade silicone that complies with ASTM International standards for skin contact. Cheap vinyl or rubber stoppers harden over time as they absorb body oils, which can discolor silver or cause skin irritation.
Critical Mistakes That Damage Chains or Tear Earlobes
The biggest mistake is forcing a standard metal earring back onto a chain. Metal backs require force to slide, and that force will flatten the delicate hollow links of an 18-karat gold or sterling silver threader. Once a chain link is crushed, it cannot be straightened out.
Another common hazard is wearing ear threads while dressing or undressing. Woven knits, chunky turtlenecks, and mesh tops easily catch on trailing chains. If a loop snags while pulling a sweater over your head, the sudden jerk can rip the chain through the lobe, causing painful fistula tears.
Always put your threaders on after your clothes are fully on, and take them off before you undress.
Sleeping in threader earrings is equally risky. As your head shifts against the pillow, loose chain tails can wrap around hair strands or tangle into pillowcase weaves. The resulting drag can stretch the piercing hole over time or snap the chain clean off its insertion pin.
Frequently Asked Questions About Threader Earrings
Can you wear normal earring backs on threader earrings?
No, you should never use traditional metal butterfly backs on threader earrings. The rigid metal clamps crush delicate chain links and leave permanent kinks. Always choose soft, clear micro-silicone stoppers designed to slide smoothly over chains without damaging the metal.
Why does my threader earring always tilt forward?
Your earring tilts forward because the front decorative charm weighs more than the plain rear chain. Gravity naturally pulls the heavier side downward. You can stop this forward slide by placing a micro-silicone stopper behind your earlobe or by pulling extra chain length toward the back.
Are threader earrings safe for newly pierced ears?
No, threader earrings are not suitable for unhealed or fresh piercings. The textured links harbor bacteria and drag roughly across healing tissue, which leads to irritation and scarring. Wait until your piercing channel is completely healed and mature (typically six months or longer) before wearing chain earrings.
How do you keep threader earrings from catching on clothes?
Put your threader earrings on last, after you have finished dressing and styling your hair. If you are wearing chunky knitwear, scarves, or high collars, tuck the rear chain drops behind your lobe using silicone stoppers, or weave the chains through a second piercing to reduce hanging slack.
The Practical Decision Guide: Keeping Your Threaders Safe Every Day
Keeping threader earrings secure comes down to matching your technique to what you are doing and what you are wearing. Use this quick ruleset to protect your jewelry throughout the day:
- For simple, charm-free chain threads: Pull sixty percent of the chain length to the back. That extra rear drop provides enough gravity counterweight for normal desk work and walking.
- For front-heavy designs with gems or pendants: Slide a clear micro-silicone stopper up the back chain until it sits flush against your earlobe. The stopper is invisible from the front and keeps the charm from dragging the earring down.
- For cold weather, scarves, and textured knits: Switch to a double-piercing weave if you have two holes, or swap the threaders for closed huggies. High-friction clothing fabrics pull loose chain tails out quickly.
- At bedtime and during workouts: Remove your threader earrings entirely. Friction against pillows, exercise mats, and sports gear stretches the piercing channel and breaks fine-gauge solder joints.
Threader earrings give you an elegant, effortless look, but they need proper support to stay where they belong. A quick wipe to remove skin oils paired with an inexpensive silicone stopper will keep your favorite pairs securely in your ears for years to come.

Similar Posts